Login Hosted Page
Overview
The Login hosted page is the gateway to your application's protected resources. It provides users with a secure authentication interface where they verify their identity before accessing your platform.
The login page serves as the authentication checkpoint for your application. When users attempt to access protected resources (Apps), cidaas automatically checks their authentication status. If the user is not already authenticated, cidaas presents the login page, ensuring only authorized users can access your application.
Setup
-
Select Identifiers: Configure multiple ways by which the user identifies when logging in or registering.
-
Login Providers: To allow third-party Identity providers for new users to sign up.
Select Identifiers
cidaas provides multiple identification methods on the login page. Users can authenticate using:
- Email address
- Mobile number
- Username Each identifier must be unique across all users. cidaas enforces this uniqueness to prevent duplicate accounts and ensure secure user identification.
Configuring Identifiers
-
Log in to the admin dashboard.
-
Go to Apps -> App Settings
-
Click on the Edit button of the app you want to configure
-
Open Advanced Settings -> Flow Settings and select the desired identifiers which you want to show in your Login Page from the
Allow Login withdrop down menu.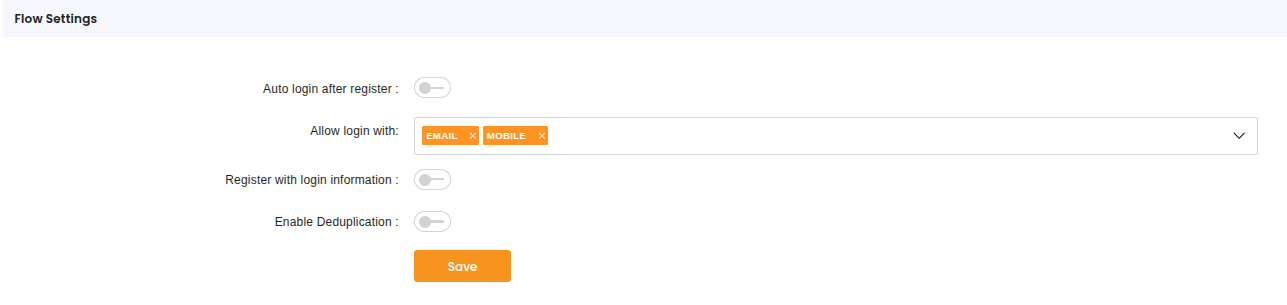
-
This is an example of Login Page which includes
email,mobile,usernameas identifiers.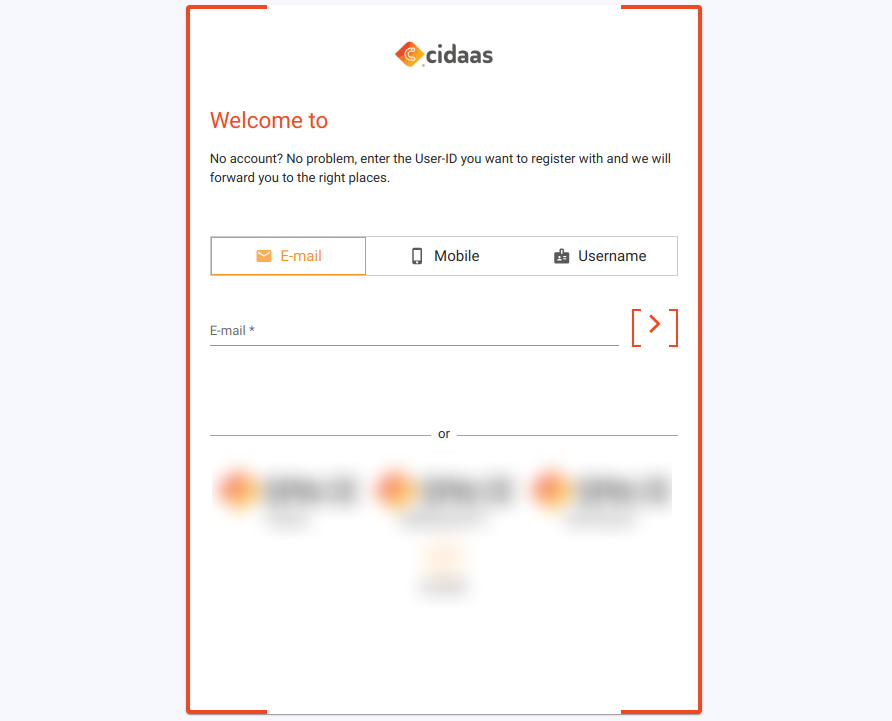
Login Providers
Enable third-party authentication by integrating external identity providers. cidaas supports SAML, Active Directory, Custom OpenID Connect, and social providers for seamless user login.
Prerequisite
Create login providers in your cidaas instance before adding them to the login page configuration
Social Login Providers
Social login enables single sign-on using existing accounts from social networks like Facebook, Twitter, Google, or LinkedIn. Instead of creating new credentials, users can authenticate with their existing social media accounts, simplifying the registration and login proces.
Benefits:
- Faster registration and login
- Reduced password fatigue
- Improved user experience
- Lower abandonment rates
Active Directory Providers
Active Directory (AD) is Microsoft's directory service that stores and manages network objects and user information. Integrate AD providers to enable enterprise users to authenticate using their existing corporate credentials.
Use Cases:
- Enterprise applications
- Internal company portals
- B2B platforms
- Corporate SSO implementations
SAML Providers
Security Assertion Markup Language (SAML) is an open standard for exchanging authentication and authorization data between identity providers (IdP) and service providers (SP). SAML enables secure single sign-on across different domains and organizations.
Use Cases:
- Enterprise SSO
- Cross-domain authentication
- B2B integrations
- Federated identity management
Custom Providers
Custom providers allow you to integrate additional identity providers beyond the default options. Configure any OpenID Connect-compliant provider, such as your organization's email provider or proprietary authentication system.
Use Cases:
- Business email providers
- Proprietary identity systems
- Niche authentication services
- Custom enterprise solutions
Configure Login Providers Page
-
Log in to the Admin Dashbord
-
Go to Apps -> App Settings
-
Click on the Edit button of the app you want to configure.
-
Click on Advanced Settings > Login Providers and select the desired Login Providers from the list and click Save.
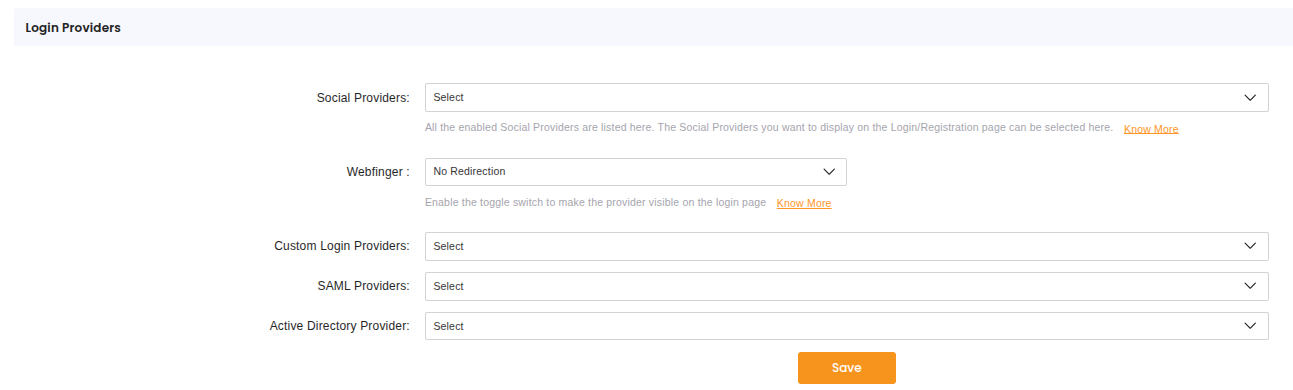
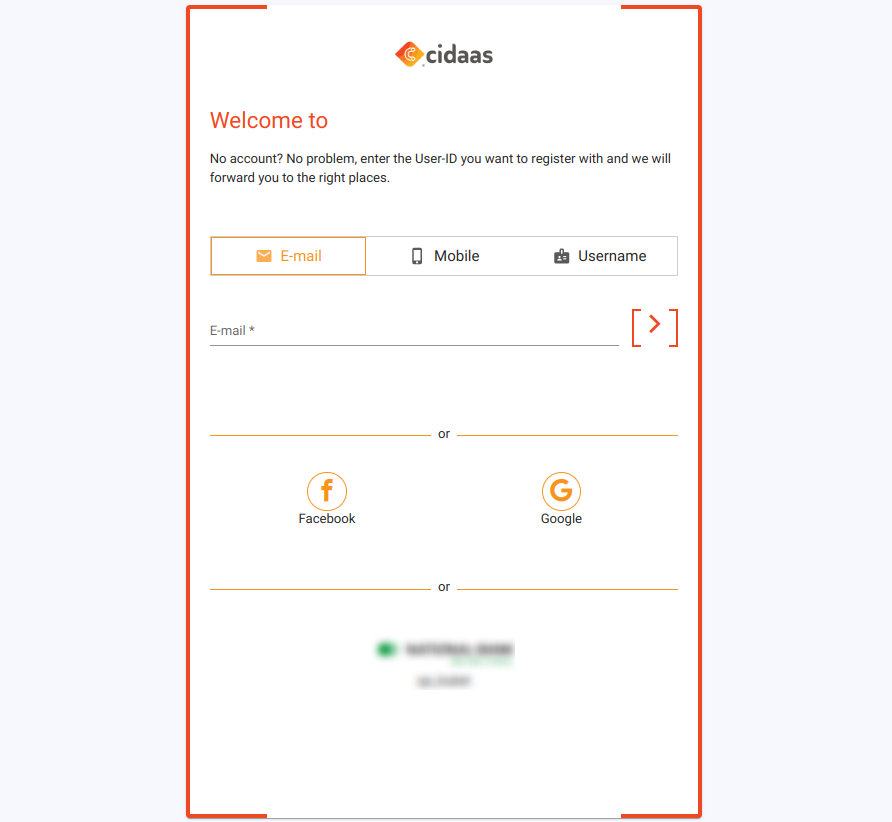
Once configured, your login page will display all enabled providers, such as social logins (Facebook, Google) and SAML providers, as shown in the example below.
Developer Prespective
| API | Description | Link |
|---|---|---|
| List of Login Provider | To get list of configured identity providers | View API |
| Configure social login provider | Authenticates with the social provider using the authz-generated request ID. | View API |
Login Success Hosted Page
Overview
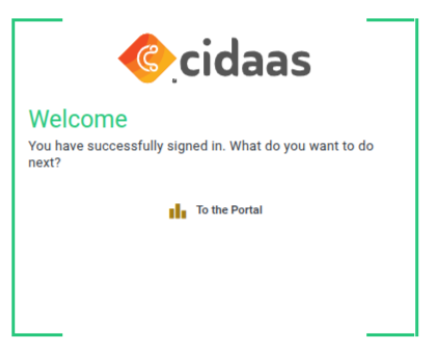
The Login Success hosted page is a confirmation screen displayed immediately after a user successfully authenticates. This page provides visual feedback that login was successful and typically serves as a brief transition before redirecting users to their intended destination
When It Appears
The login success page is shown after:
- Successful username/password authentication
- Social login completion
- Multi-factor authentication verification
- SAML or SSO authentication
- Any successful login flow
Configure Logic Success Hosted Page
-
Log in to the Admin Dashbord
-
Go to Apps -> App Settings
-
Click on the Edit button of the app you want to configure.
-
Click on Advanced Settings > Success Page and Enable Login Success Page and click Save.

-
Once you log in successfully you will get the below success page
Explore Related Topics
Please contact us directly on our support page or reach out to cidaas support at [email protected].