Consents and Consent Groups
Overview
According to the General Data Protection Regulation (GDPR), organizations that store and process user data must capture user consent during OAuth 2.0 or OpenID Connect authentication flows, including registration, login, or specific events on their application.
Read more on GDPR & Consents.
User consent represents explicit permission from a user allowing an application to access resources protected by scopes. Administrators can create consents using the Consent Management settings and organize related consents into consent groups.
A Consent Version must be created to configure scopes, required fields for mandatory user input, consent language, and the content presented to users.
Note
Consents remain valid until manually revoked by an administrator, or until the associated application or scope is deleted.
Administrator Guide
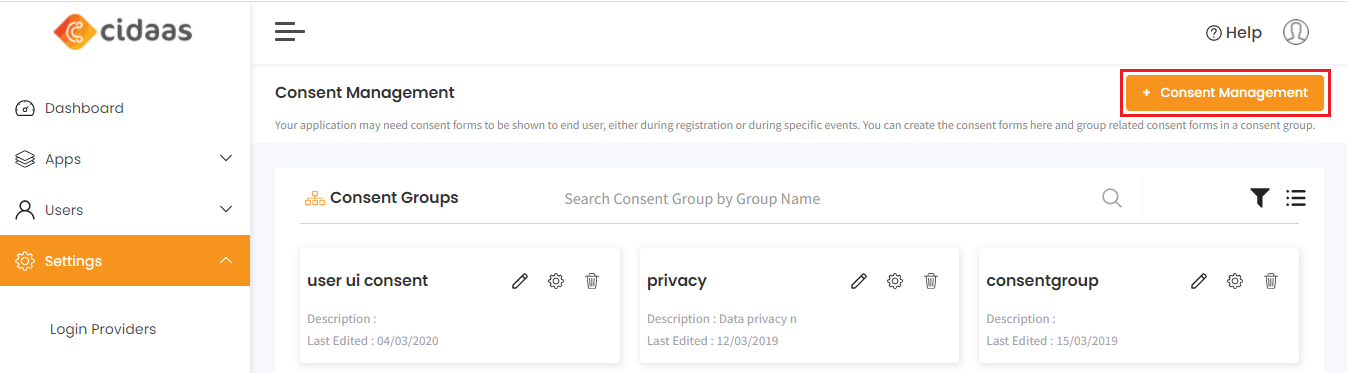
Create Consent Group
A consent group is a collection of multiple consents. To create a consent group:
-
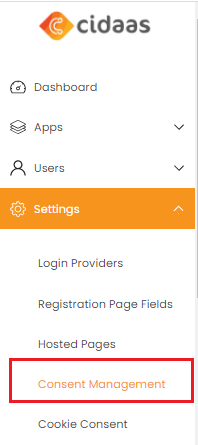
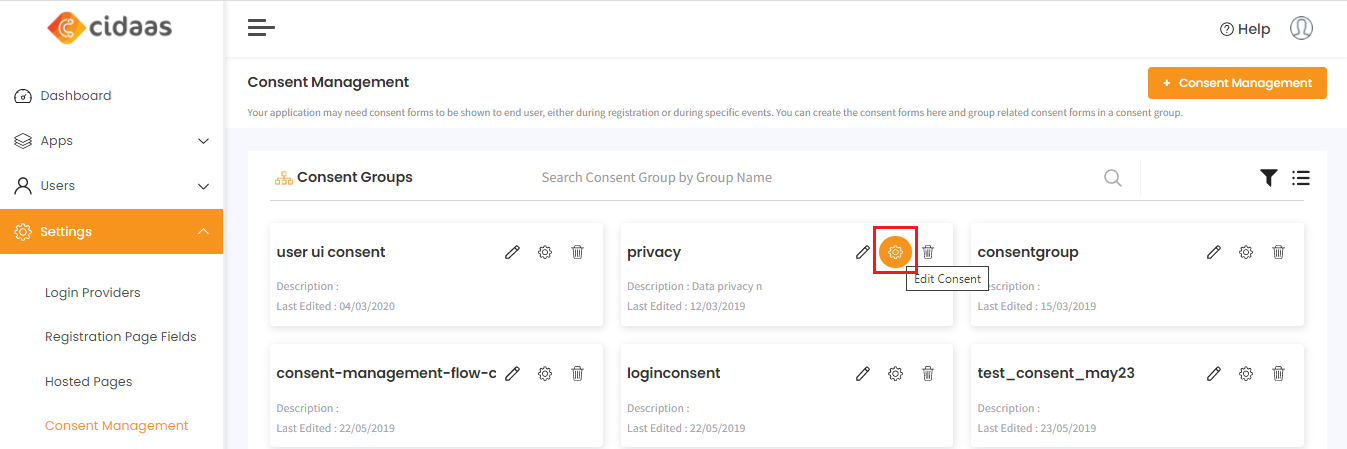
Navigate to Settings > Consent Management from the dashboard menu.
-
Click Consent Management.
-
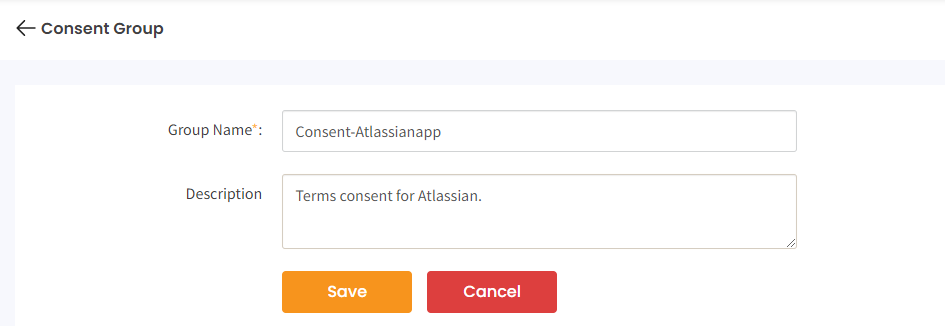
In the Consent Group window, enter the Group Name and an optional description, then click Save.
-
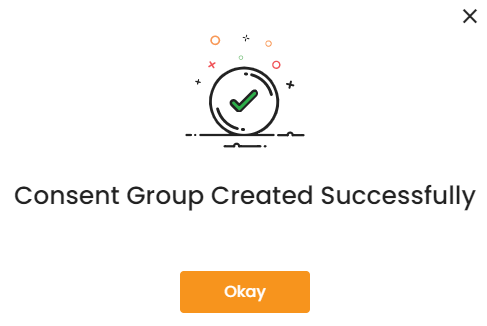
A success confirmation message appears once the consent group is created.
-
The new consent group is added to the Consent Groups list.

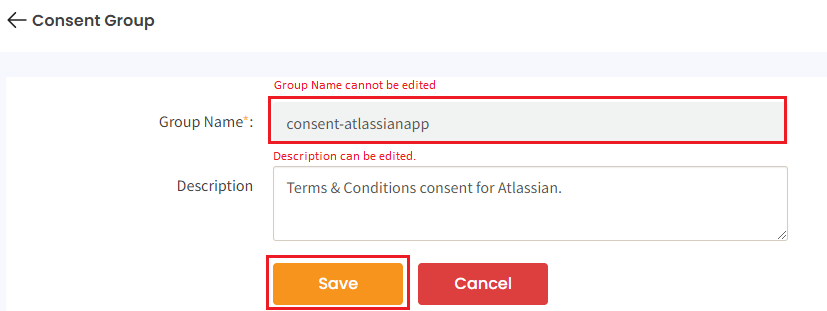
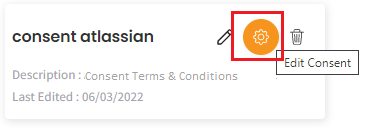
Edit Consent Group
To edit an existing consent group:
-
Click the Edit icon for the consent group you want to modify.

Note
The Consent Group name cannot be edited. Only the description can be modified. -
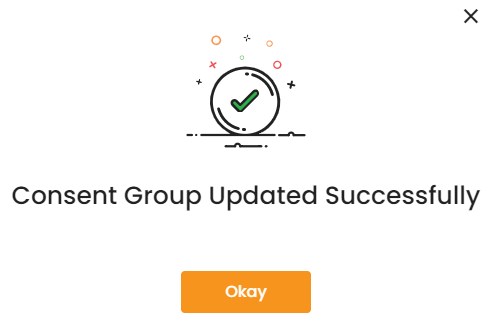
Update the description and click Save.
-
A success confirmation message appears.
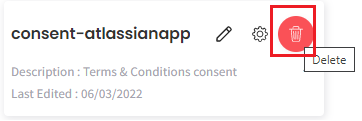
Delete Consent Group
Important
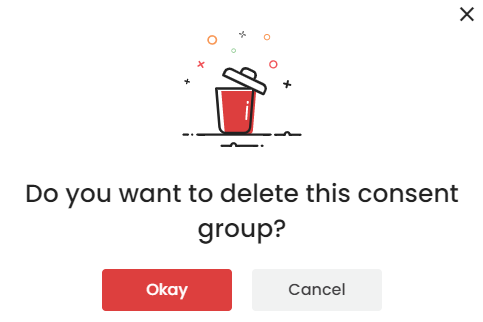
When a consent group is deleted, all consents mapped to that group become disabled and will no longer apply to configured applications.
To delete a consent group:
-
Click the Delete icon for the consent group.
-
Click Okay in the confirmation dialog.
-
A delete confirmation message appears.
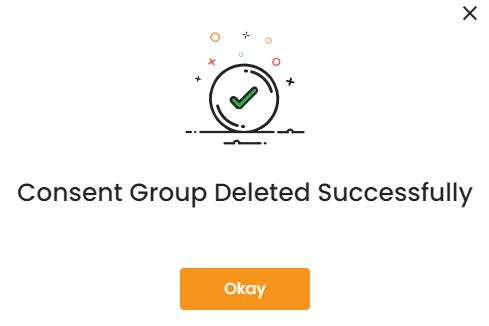
The consent group is removed from the Consent Groups list.
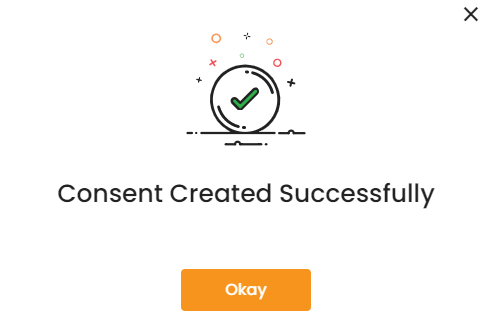
Add Consent
To add a new consent to a consent group:
-
Under Consent Groups, click Edit Consent.
-
On the Consent page, click Create Consent.

-
Enter the Consent Name and click Save.

-
A success confirmation message appears.
Delete Consent
To delete an existing consent:
-
Under the Consent list, click the Delete icon for the consent you want to remove.
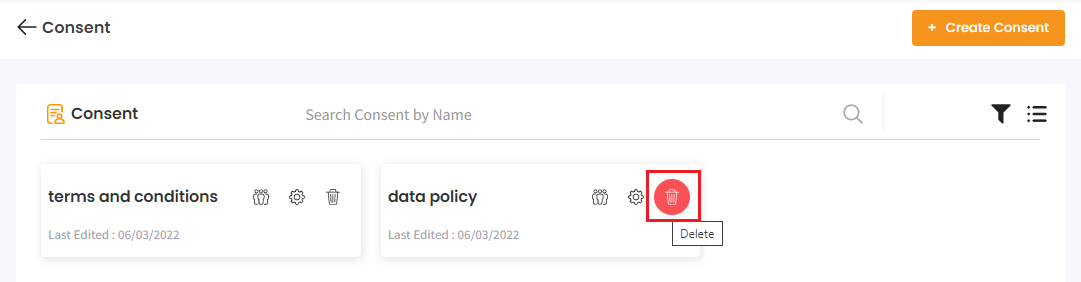
-
Click Okay in the confirmation dialog.
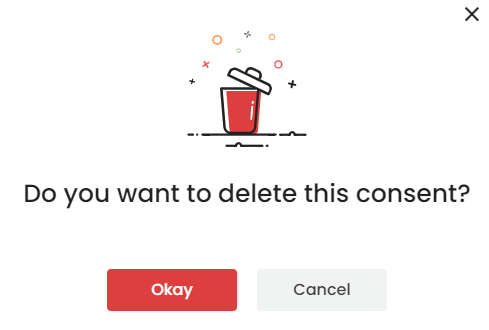
-
A success confirmation message appears.
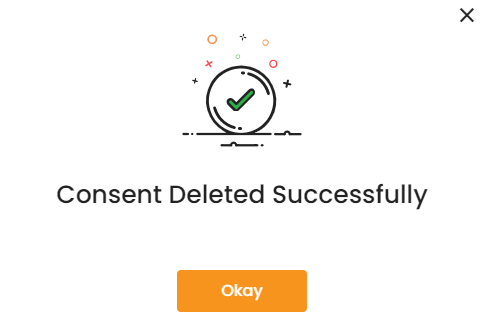
The deleted consent is removed from the Consents list.

Create Consent Version
You can create multiple versions of a consent to map to applications based on either scopes or URL.
- Scopes define the purpose and scenario when a consent applies to an application.
- URL redirects users to a specific landing page associated with the consent version.
Scope-based Consent Version
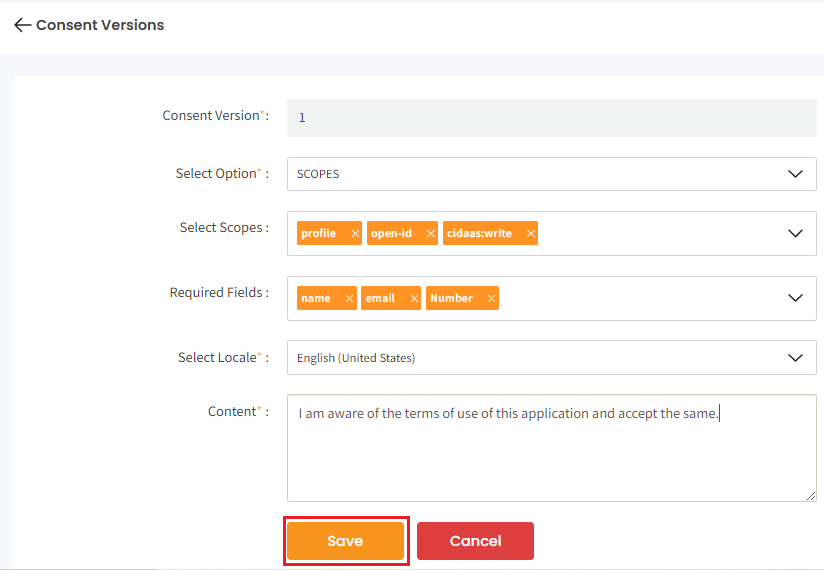
To create a scope-based consent version:
-
In the Consent Versions window, select SCOPES for Select Option.

-
Select the scope(s) to which the consent will apply.
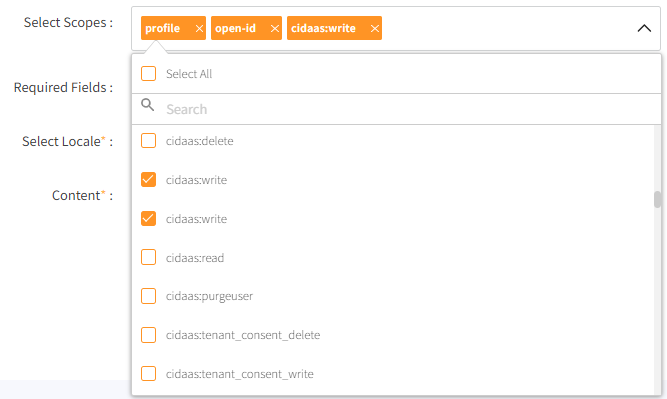
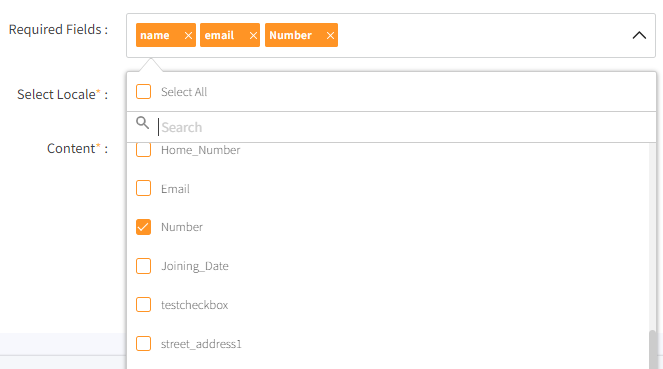
-
Select Required Fields from the list. These fields become mandatory user inputs on registration, login, or other pages where this consent version applies. Users must provide input for these fields and accept the consent checkbox to proceed.
-
Select the language in which the consent will appear.

Note
Only one language can be selected per consent version. To support multiple languages, create a separate consent version for each locale. -
Add the Content text.

-
Click Save.
URL-based Consent Version
You can redirect users to a specific landing page when consent is provided, such as a Terms & Conditions page.
Suggestion
Combine scope-based and URL-based consents to customize the consent flow for your application.
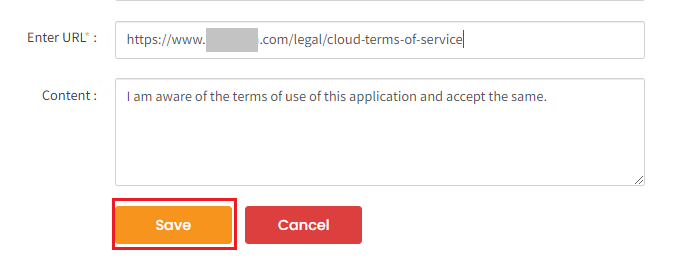
To create a URL-based consent version:
-
In the Consent Versions window, select URL for Select Option.

-
Select the language in which the consent will appear.
Note
Only one language can be selected per consent version. To support multiple languages, create a separate consent version for each locale. -
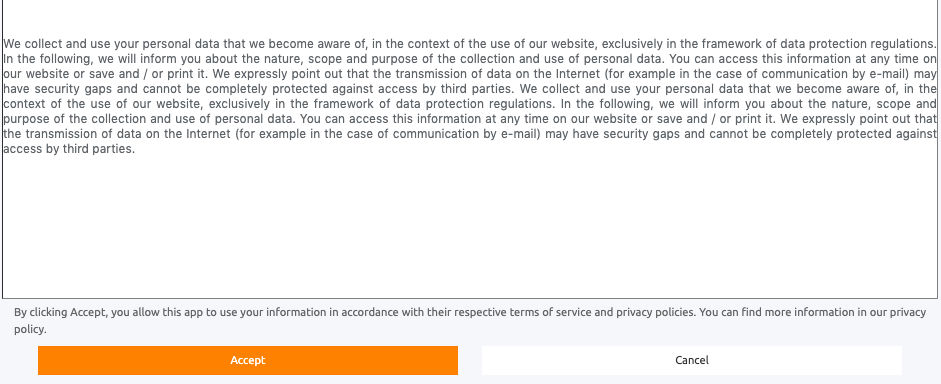
Enter a valid URL, type the consent text that will appear to users, and click Save.
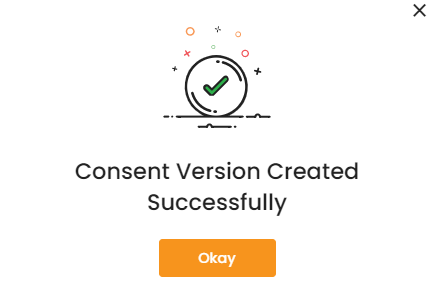
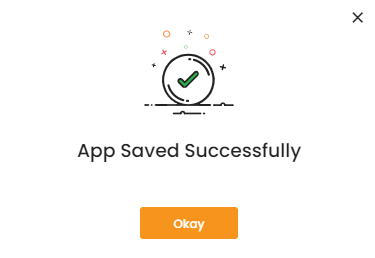
A success confirmation message appears once the consent version is created.
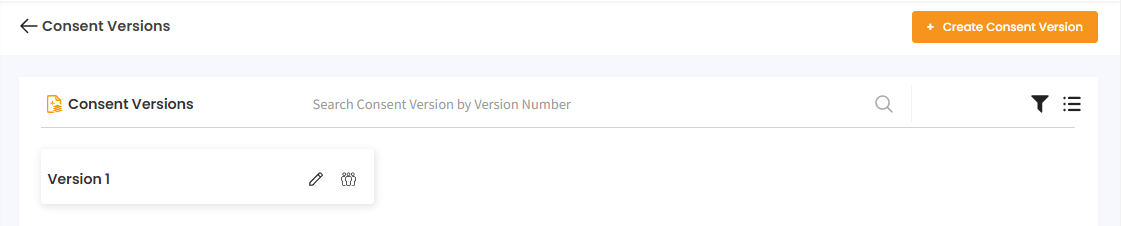
The new consent version is added to the list.
View User Consent Acceptance
Administrators can view which users have acknowledged consents or accepted Terms & Conditions. This is useful for consent analytics and compliance tracking.
To view consent acceptance:
-
Navigate to Settings > Consent Management and click the Edit Consent icon for the consent group.
-
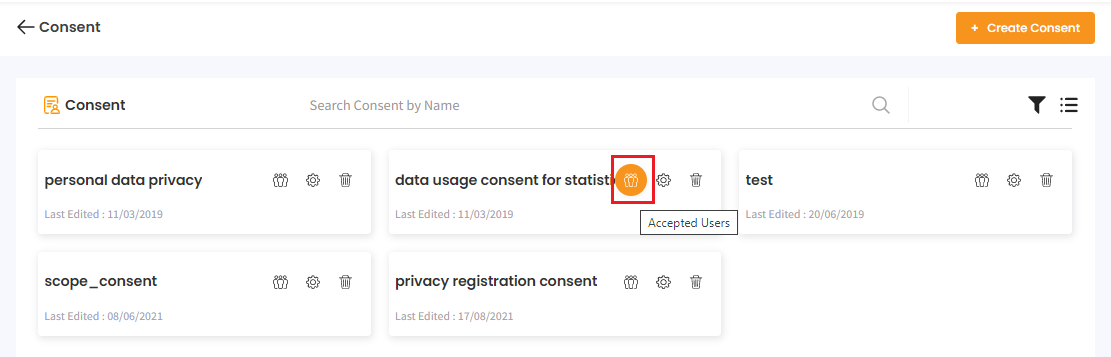
Click the Accepted Users icon for the consent.
-
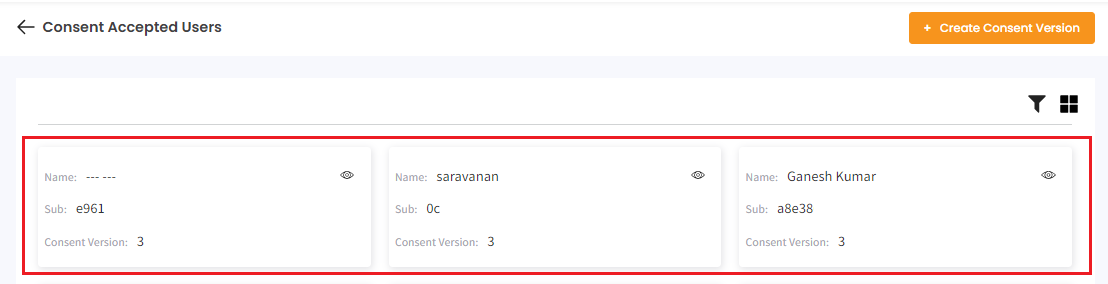
The Consent Accepted Users window displays user names, client IDs (sub), and the consent version they accepted.
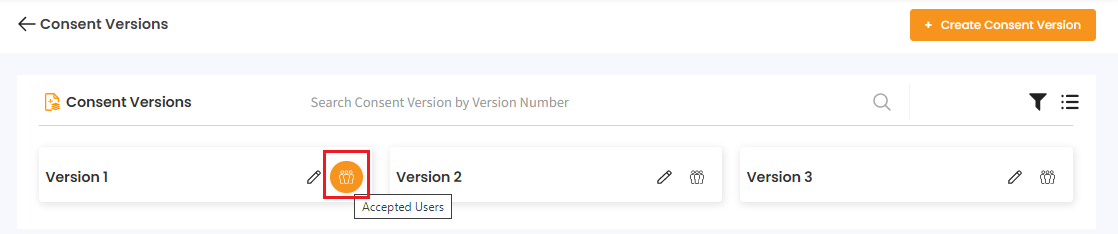
You can view user acceptance for each consent version by clicking the Accepted Users icon for the relevant consent version on the Consent Versions page.
Configure Consent for Registration Page
Create Consent Registration Field
To add user consent on the registration page:
-
Navigate to Settings > Registration Page Fields.
-
Click the + button to create a consent registration field.
-
On the Create Field page:
- Enter the Field Key value.
- Select CONSENT for Field Type.
- Select the required Scopes.
- Enable the Enable permission to make the consent visible and Required to make it mandatory.
Locale Settings
To configure the registration consent text in a specific language:
- Select the language from the Select Locale list.
- Enter text for Consent Label or link an existing consent page URL by clicking Click to add consent.
- Enter text for Required Message.
- Click Save.
Configure Consent Registration Field for Application
To configure the consent field for your application:
-
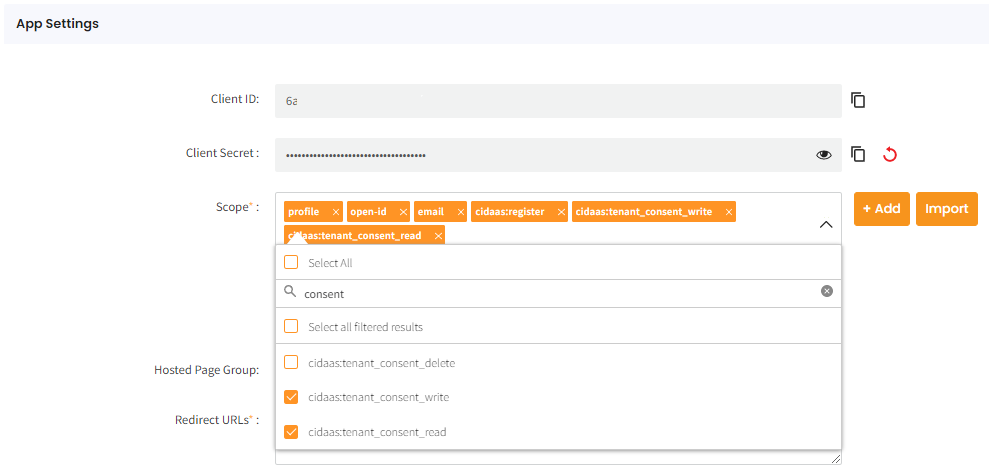
Navigate to Apps > App Settings and click the Edit icon for your application.
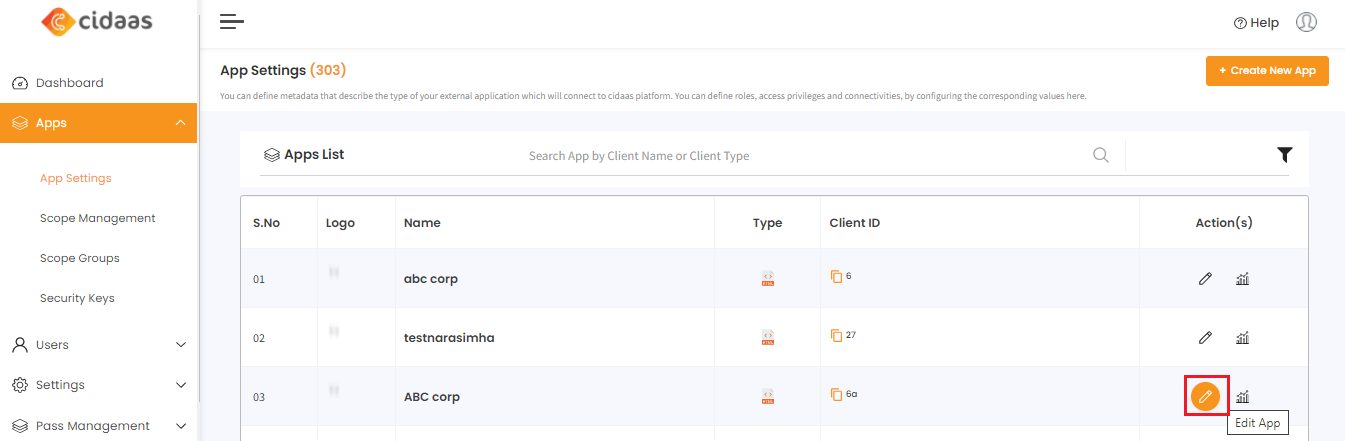
-
Under App Settings, select the Register and Consent scopes, then click Save.
-
Click Advanced Settings, then click Registration Fields.

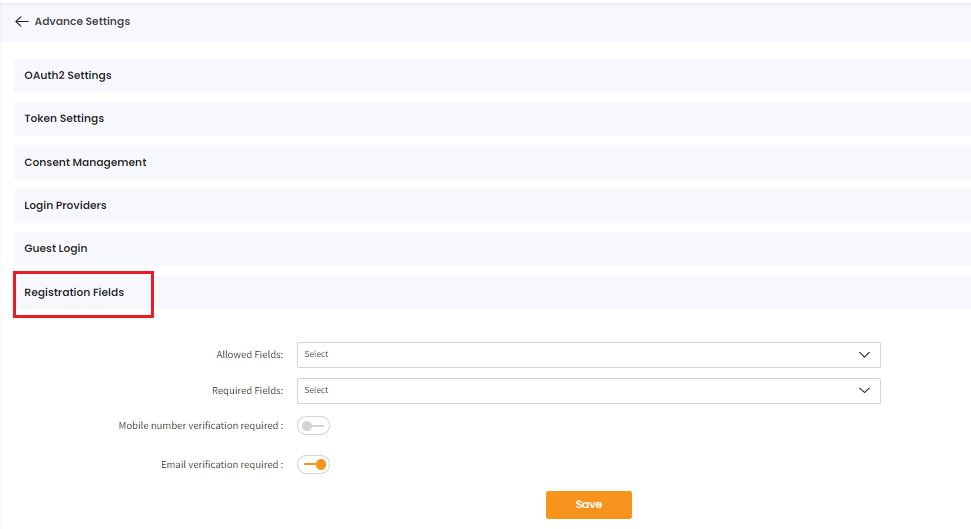
-
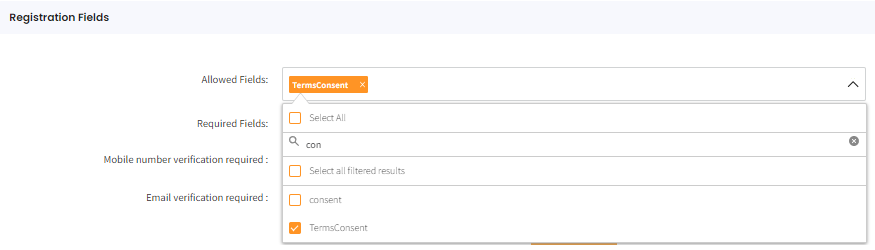
Select your registration consent from the Allowed Fields list to display the consent on the registration page.
-
To make this consent mandatory, select it for Required Fields.
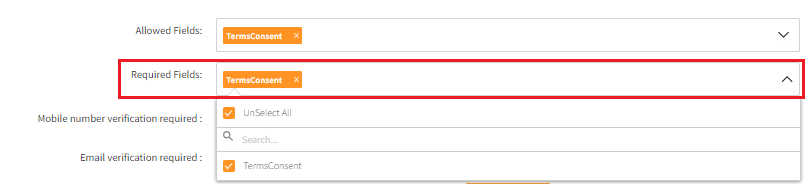
-
Click Save.
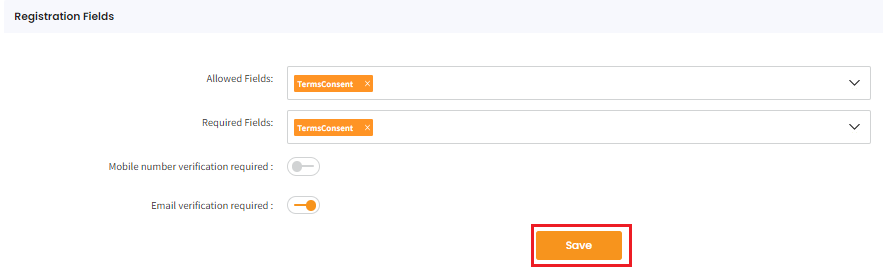
Example Output
Configure Consent for Login Page
To add user consent on the login page:
-
Navigate to Apps > App Settings and click the Edit icon for your application.
-
Under App Settings, select the Register and Consent scopes, then click Save.
-
Click Advanced Settings, then click Consent Management.

-
Select the consent you want to apply from the list and click Save.

A success confirmation message appears.
Need Help?
For any further assistance, feel free to visit our Support Portal.