Configuring Google as a Social Provider
In this section, we will show you how to provide an option to log in with Google on your cidaas login page.

By configuring Google as a social provider in cidaas, you will get a new option called Login with Google on the login page and Sign up with Google on the registration page of your cidaas application.
The overall process would be:
-
On the cidaas admin portal : Get Authorized javaScript origins and redirect URI.
-
On the Google developer console : Add Authorized javaScript origins and redirect URI to your Google developer account.
-
On the Google developer console : Generate Google client ID and client secret.
-
On the cidaas admin portal : Add the Google client ID and client secret to the cidaas application, and select the appropriate cidaas applications for which you want to enable Google.
We will guide you through the process — it's pretty easy!
Google setup
Get JavaScript Origins and Redirect URI.
In this section, you'll find steps on how to get the Google JavaScript origin and Redirect URI from the cidaas admin portal.
-
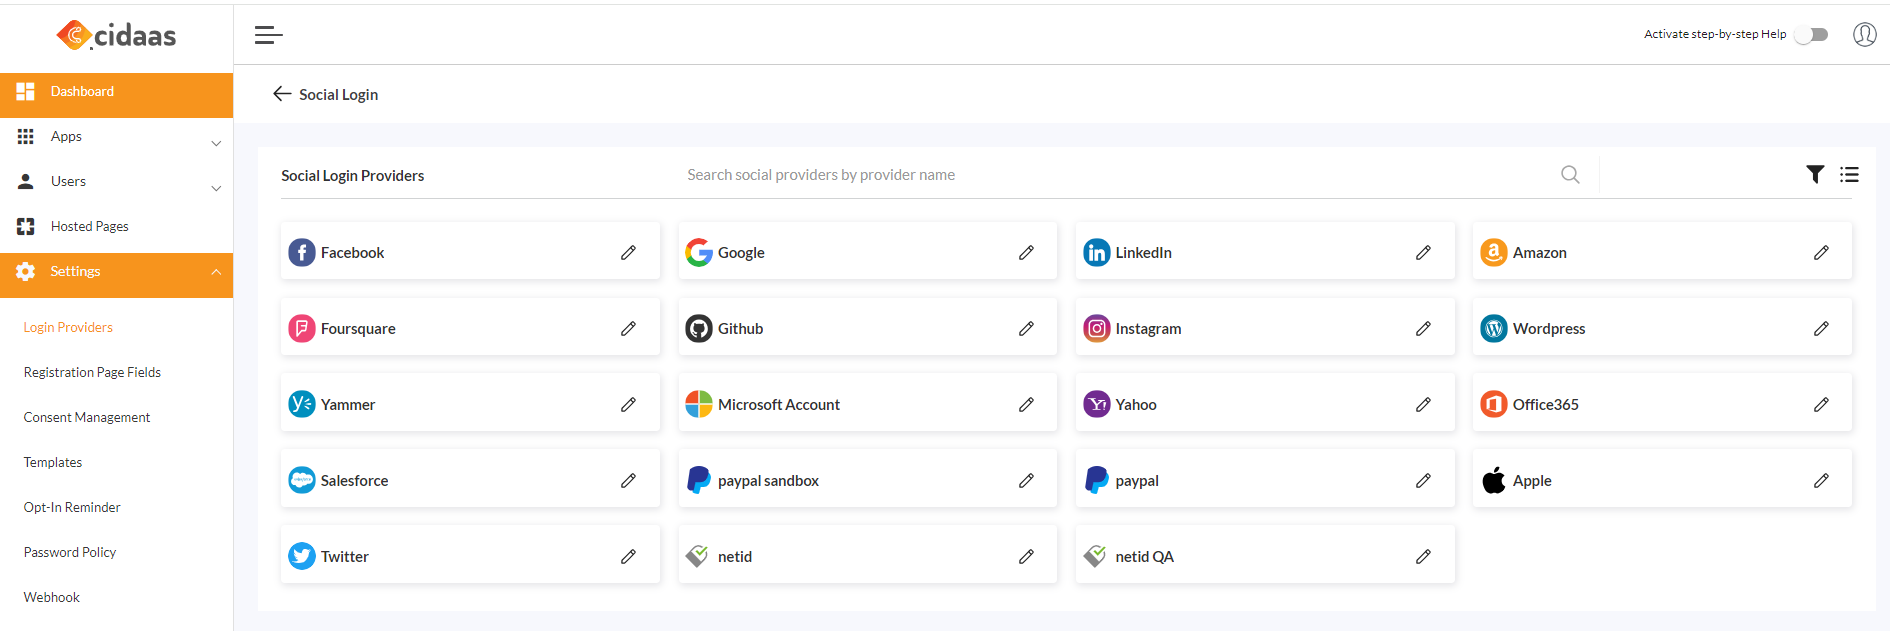
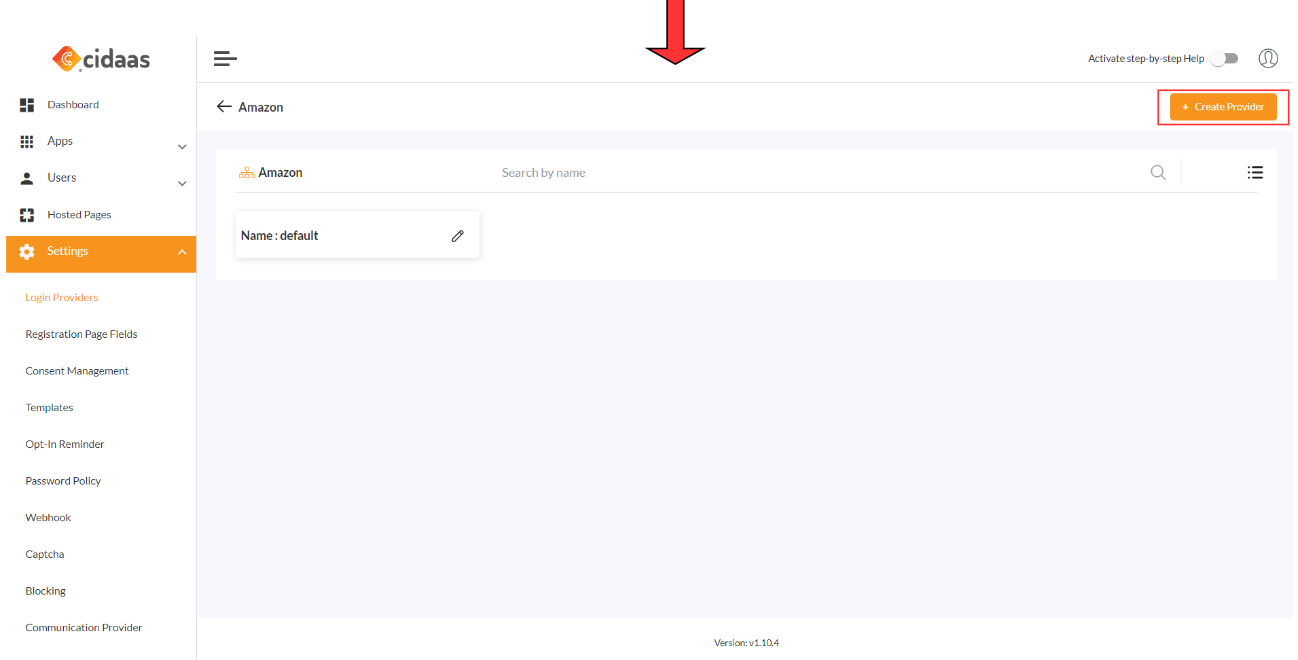
Log in to the cidaas Admin portal. Navigate to the cidaas Admin dashboard -> Settings -> Login Providers -> Social Providers, select Google from the menu, and click on Create provider.
-
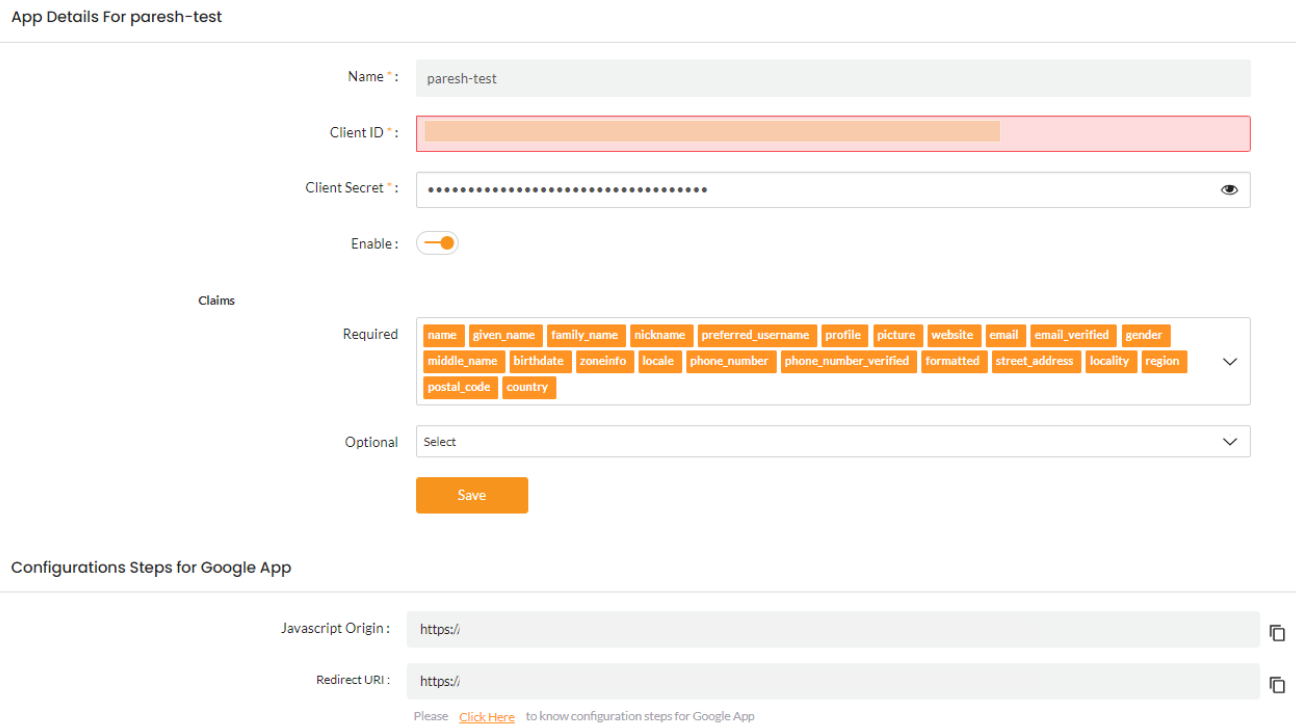
Scroll down to the section "Configuration Steps for Google App," which will show JavaScript Origins and Redirect URI. Copy it.

Generate Google Client ID and Client Secret
In this section, we'll guide you to generate client id and secret from google developers console.
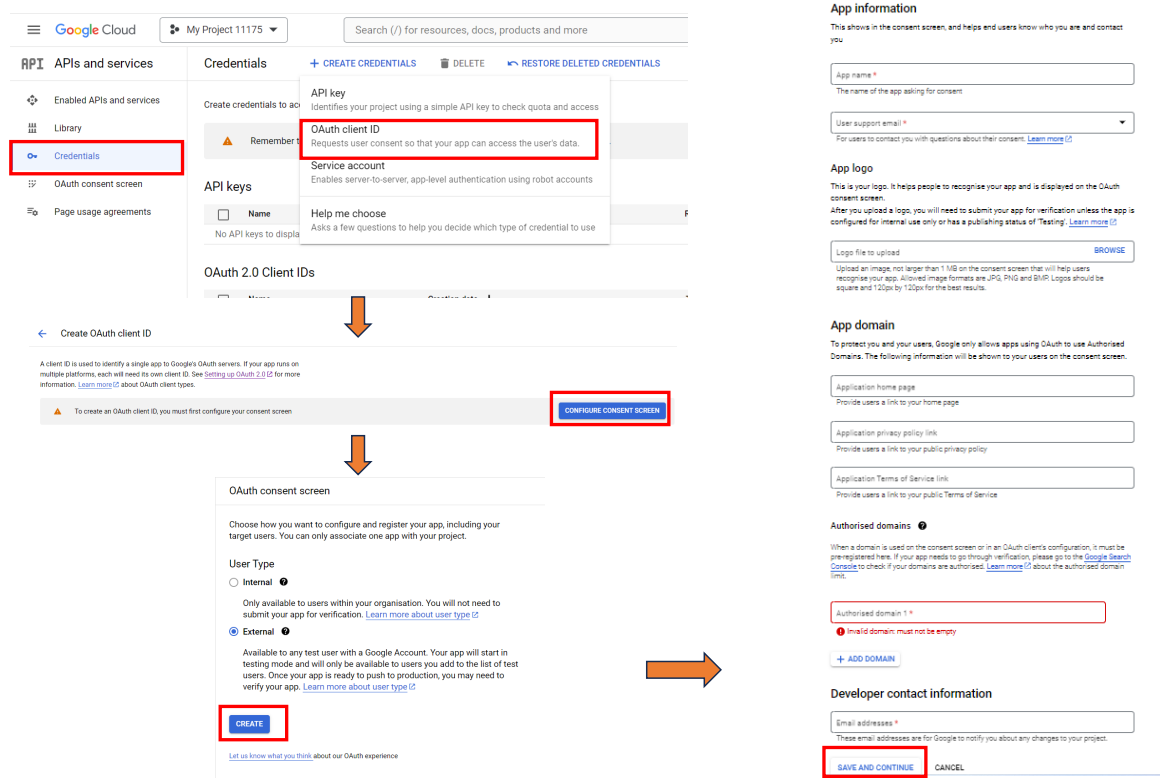
- Login to Google Developers Console and click on APIs and services.
- Select Credentials from the left menu.
Note: A Project must be created first.
-
Click on Create credentials > OAuth Client ID > Configure Consent screen > Click on Create, fill in the required app information, and click Save and Continue.
-
Fill in all the scopes, test users, verify the summary, and click on Back to Dashboard.
-
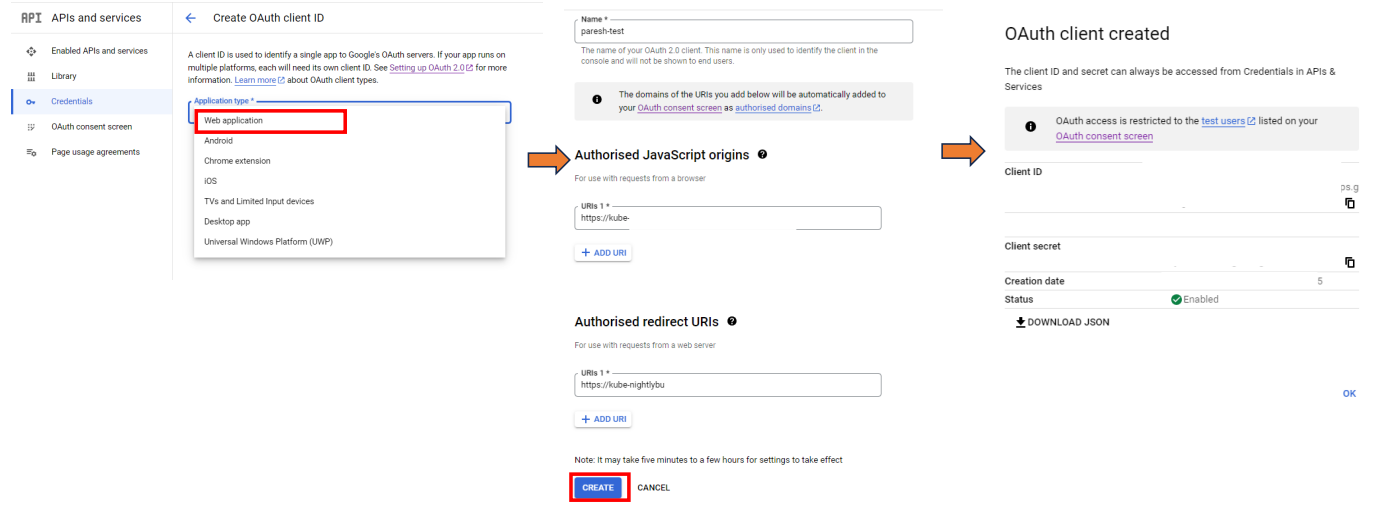
Select Credentials> and click on Create credentials > OAuth Client ID.
-
Select the web application from the drop-down menu and enter the JavaScript Origins and Redirect URI.
-
Click on Create and copy the client ID and secret.
-
Let's move to the cidaas setup section above.
cidaas setup
Configure Social Provider setup in cidaas
In this section, you'll find steps on
- how to add client ID and client Secret obtained from your Google account into your cidaas application and
- how to choose cidaas client applications for which you want to enable Google as a social provider.
-
Now, navigate to cidaas Admin dashboard -> Settings -> Login Providers -> Social Providers.
-
Click on Google > Create provider, enter the required details, and save.
- Enter the Client Id and Client secret acquired from the Google setup section.
-
After you save, you can select the application you want Google to use as a social provider.

-
Google is available as a social provider for your application.
Note : An administrator can configure single provider to more than one client
Reference Link how to configure other providers?
Please contact us on our Developer Support Page.