Communication Medium Verification
Overview
Communication Medium Verification precheck is a condition evaluated before token issuance to ensure that the required communication mediums, such as email or mobile number, are verified as per the application's security settings. This precheck allows an application to enforce mandatory verification of one or both communication channels, depending on client configuration, before granting access or issuing tokens.
A user signs up and accidentally enters a wrong email or mobile number, before completing the verification, they realize and want to correct it Link to Communication Change in Precheck
For the application, mandatory verification of either email or mobile number, or both, is facilitated through the communication medium verification feature. Thereby client-dependent you can enforce of verification for the different communication mediums.
Introduction to communication medium verification
What is communication medium verification?
In the context of communication medium verification, the application employs a process that ensures the verification of either email addresses or mobile numbers, or both, as specified. This verification mechanism enhances the security and reliability of user information within the system, confirming the legitimacy of provided contact details during the registration or authentication process.
When is a user asked for communication medium verification?
Communication medium verification is typically requested during account creation or when a user starts using more sensitive or sophisticated services of yours, which require a higher validity of the user's account. It's a one-time verification that occurs only if the user has not previously confirmed their communication mediums, adding an extra layer of authentication to the user's account.
| Criteria | Example | Configuration |
|---|---|---|
| not verified email or mobile number | The user has not verified his email or mobile number, as required by the application. Please find below all respective options | |
| communication_medium_verification as none | No verifications are required for user to use this application | 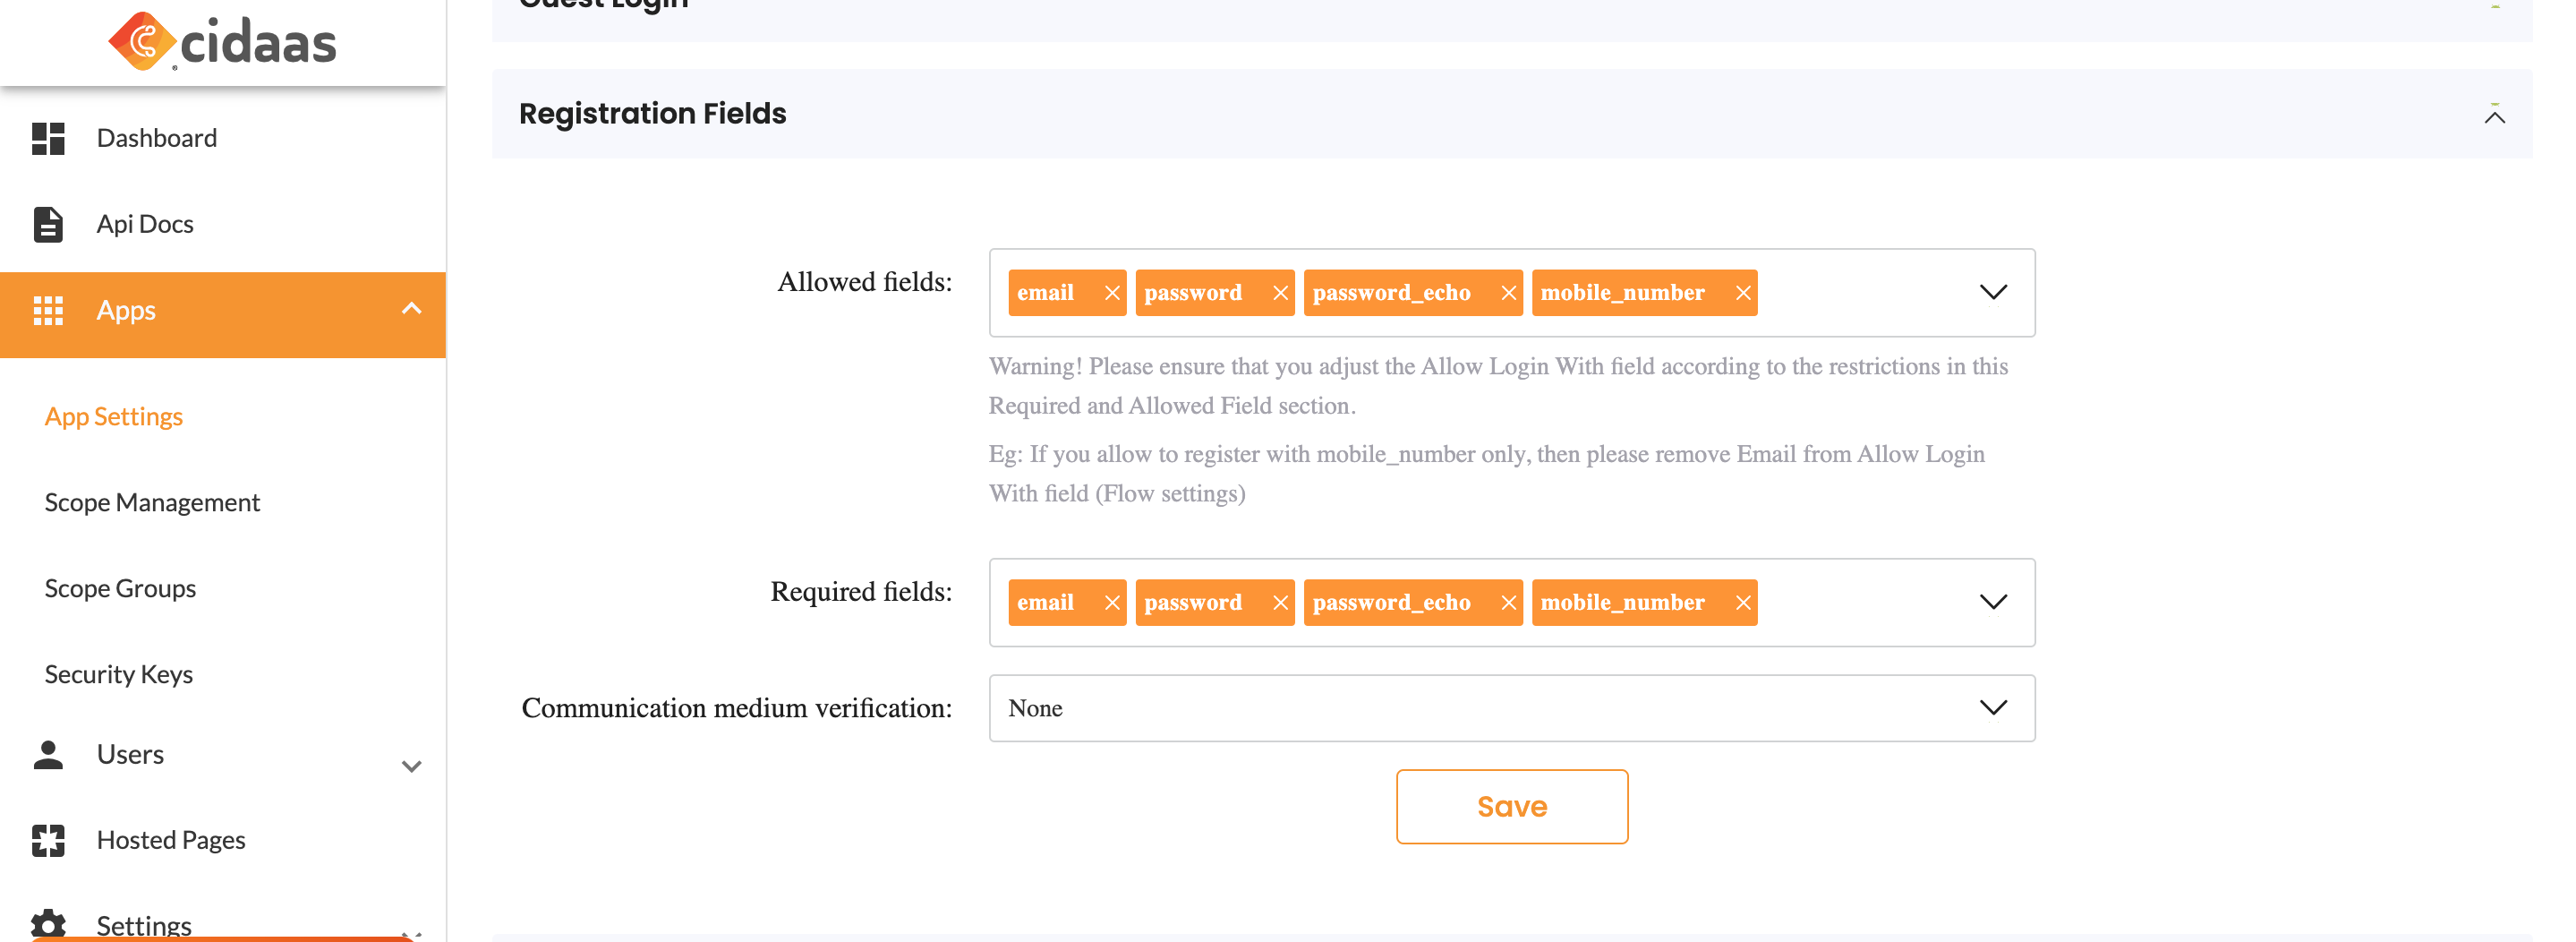 |
| communication_medium_verification as mobile_and_email_verification_required | Both email and mobile_number verification required while login to the application | 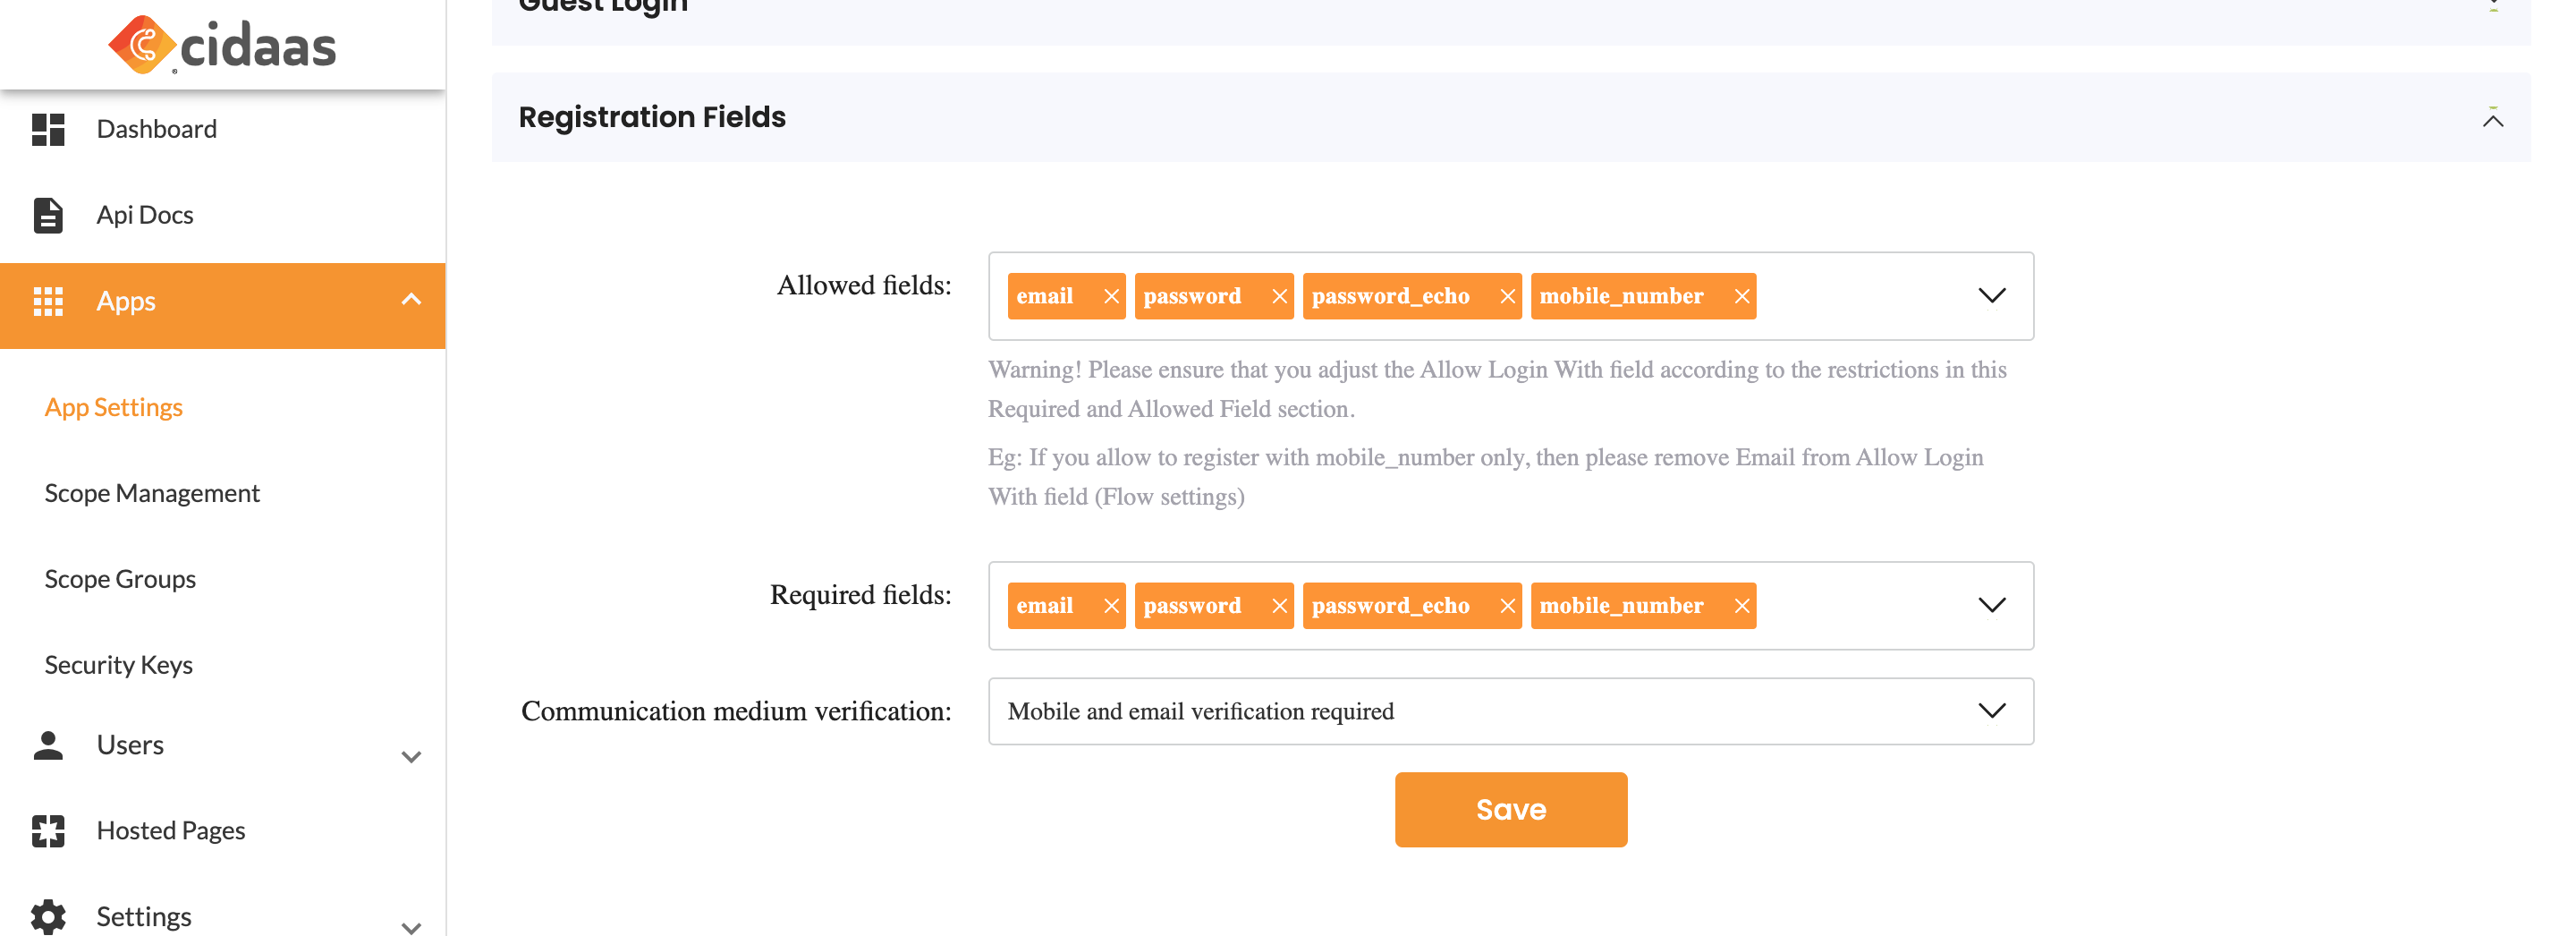 |
| communication_medium_verification as verification_required_on_usage | verification required based on the identifier used by user e.g.: if a user tries to login with email but email is not verified then, the user will be prompted to verify the email, whereas when he uses mobile_number which is verified, the user will be automatically logged in. | 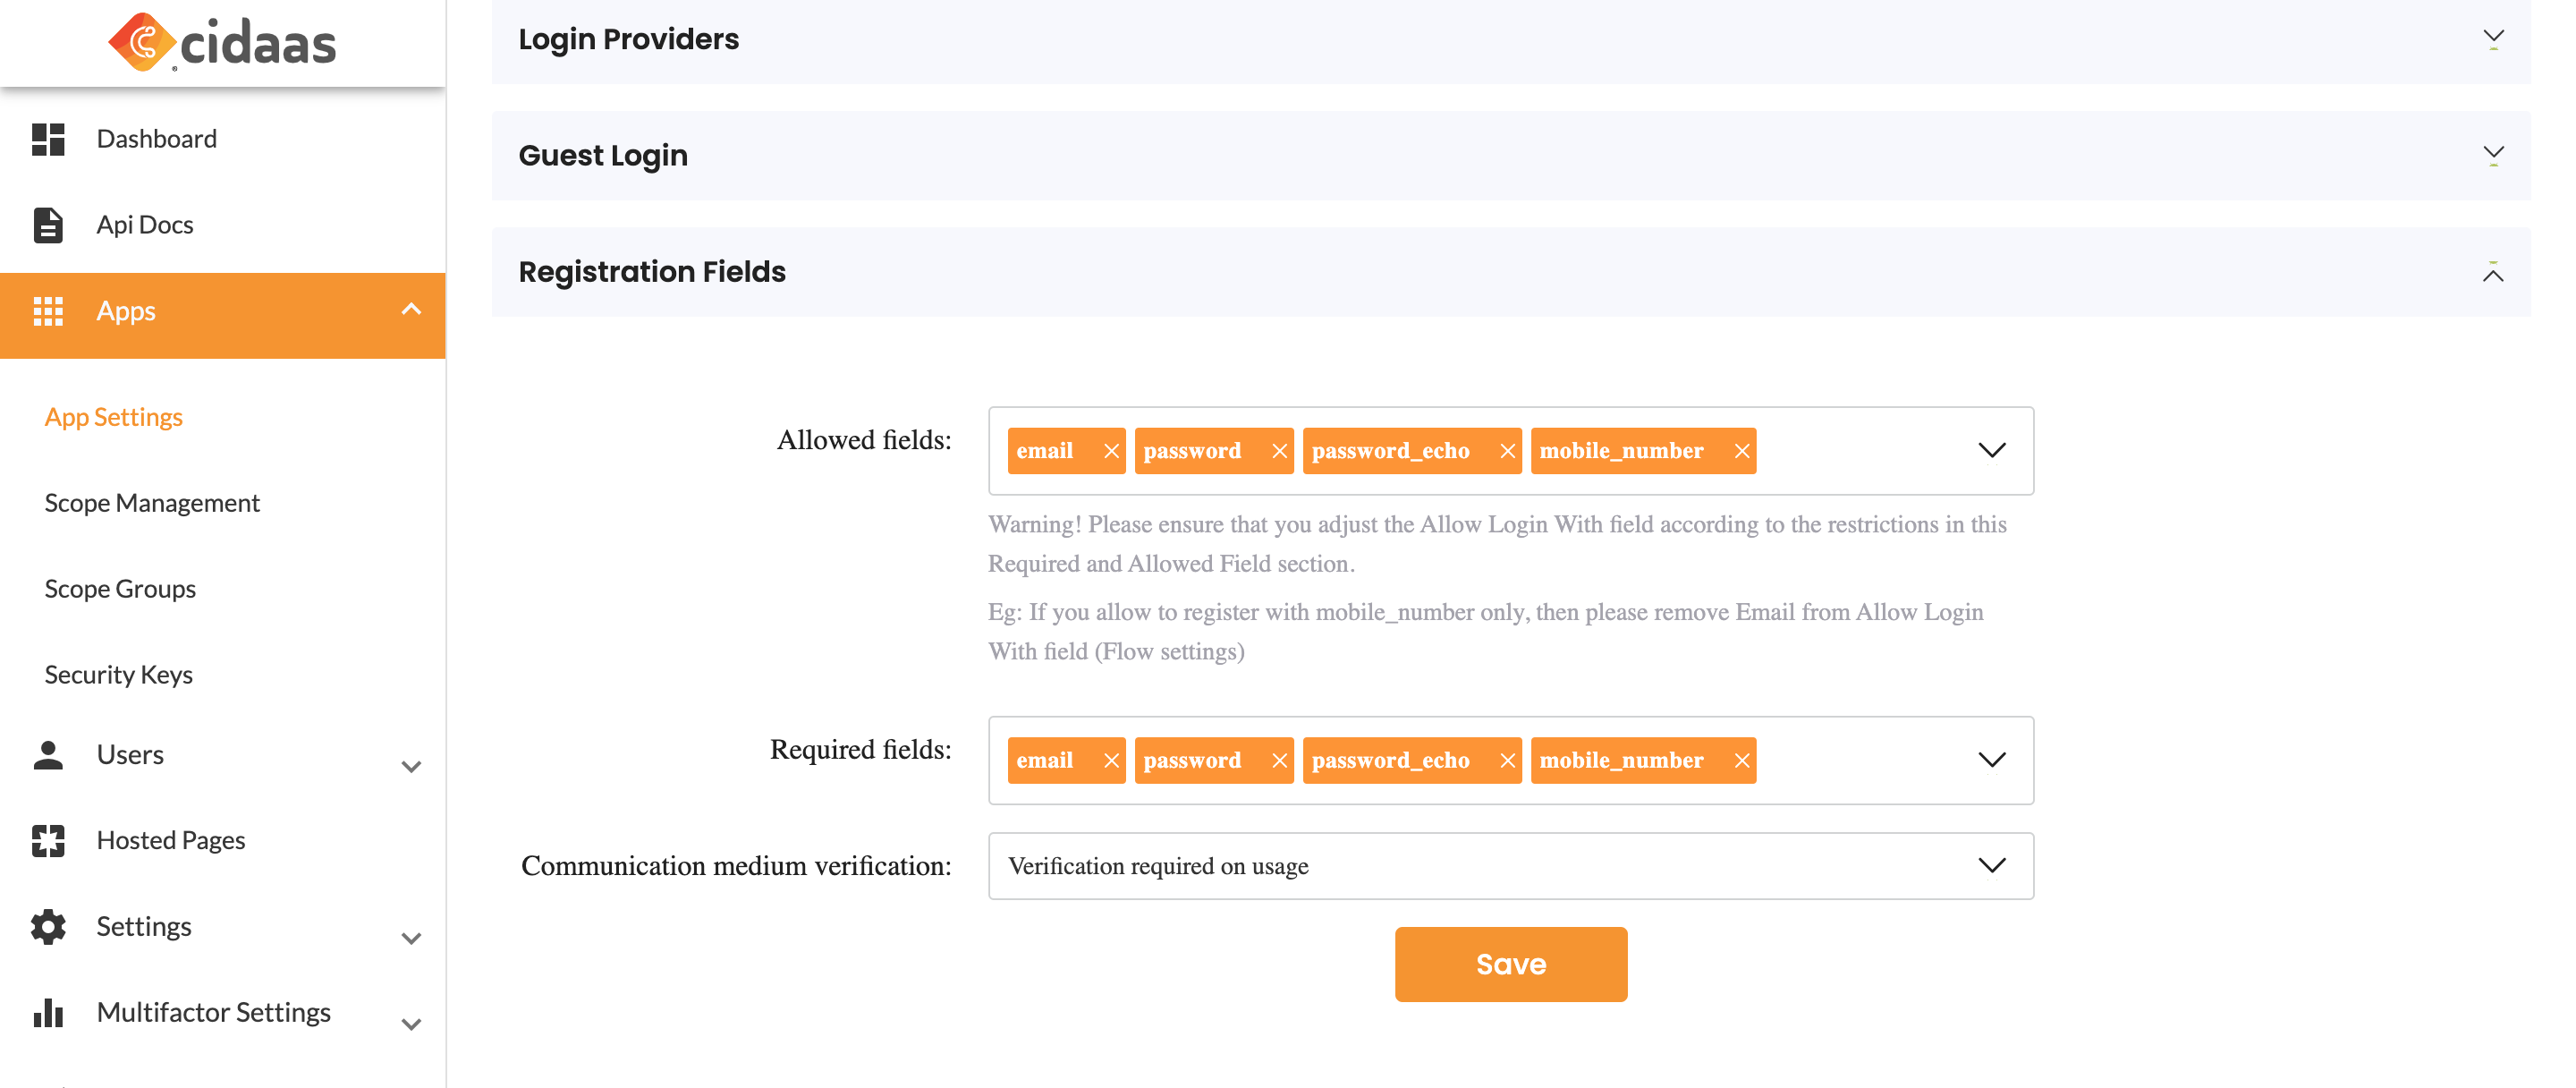 |
| communication_medium_verification as email_verification_required | always email verification is required independent of the identifier used to login the application |  |
| communication_medium_verification as mobile_verification_required | always mobile verification is required independent of the identifier used to login the application | 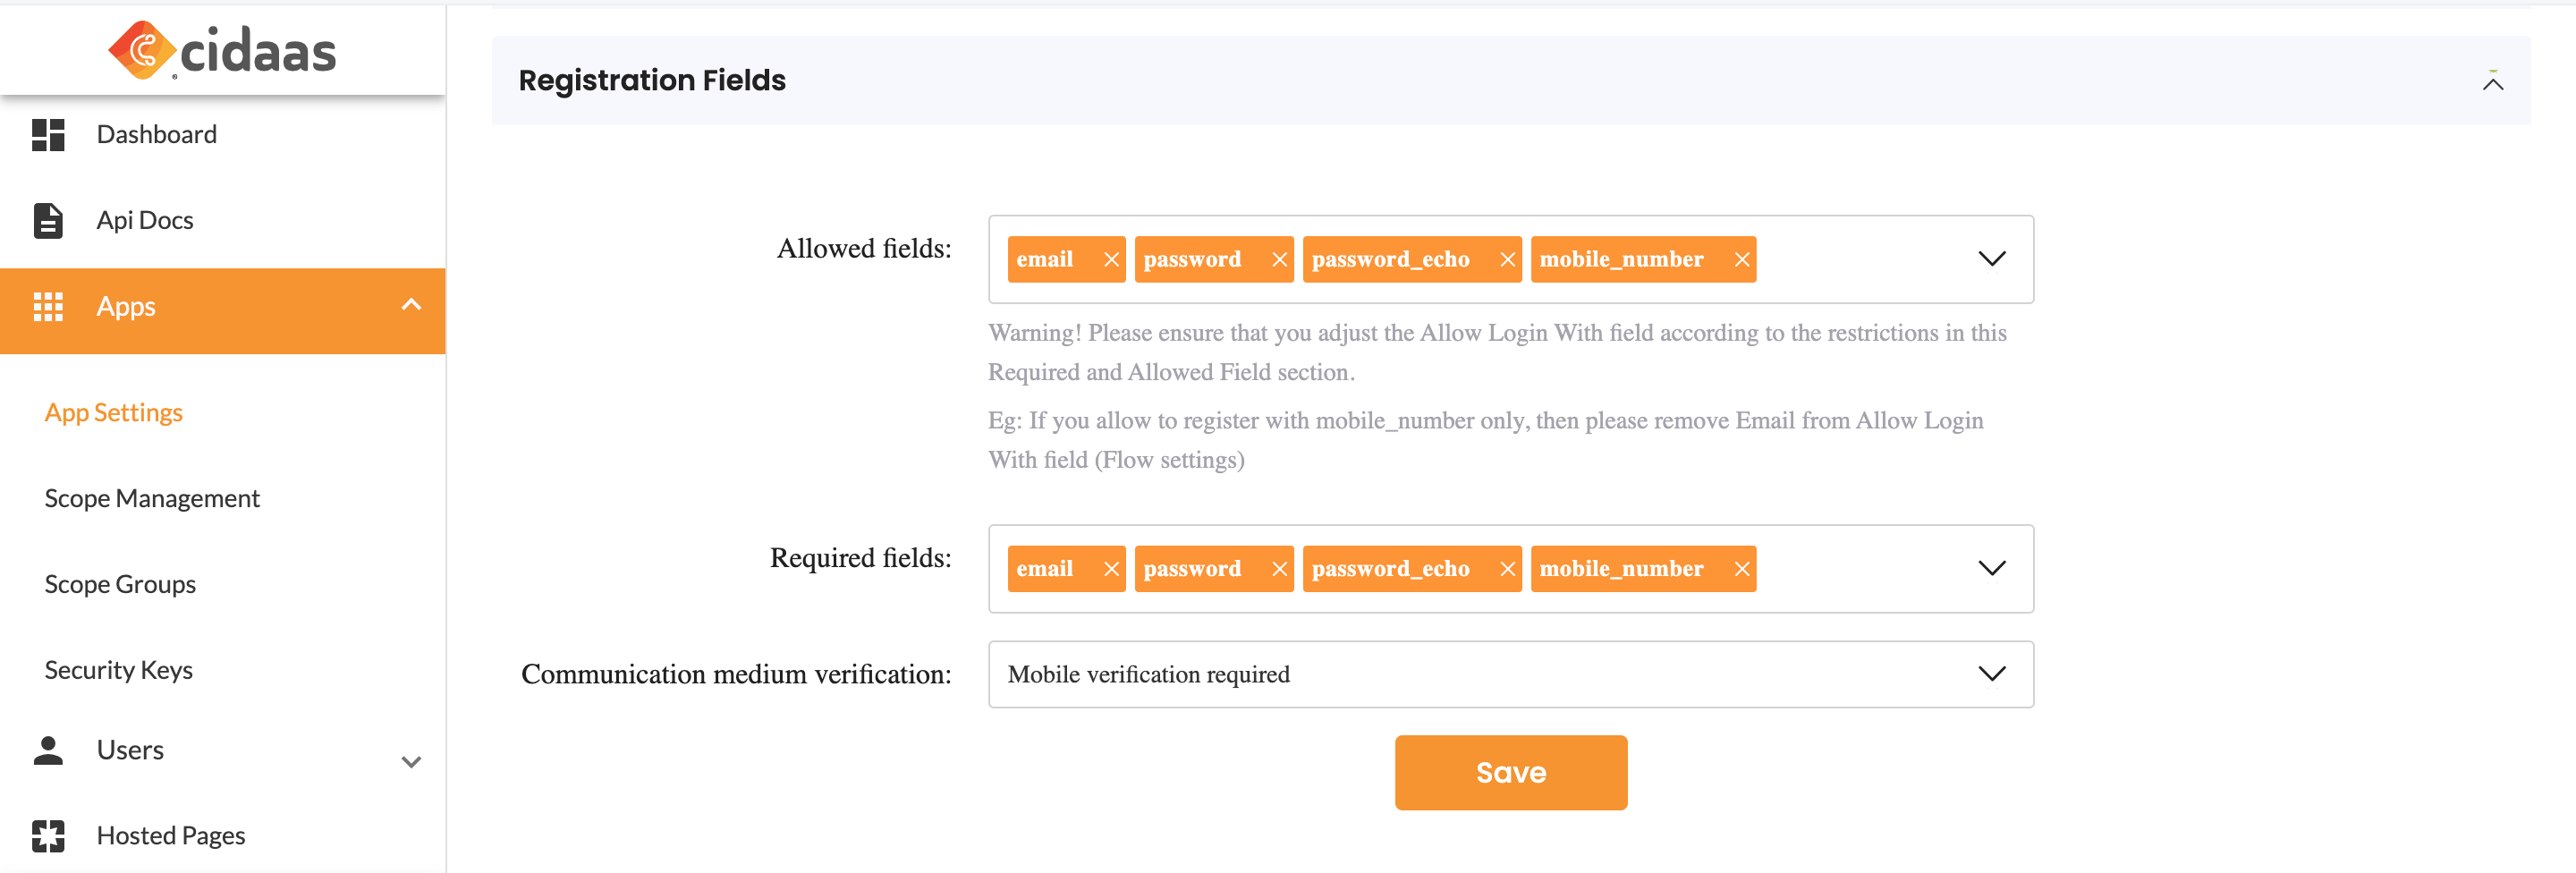 |
| communication_medium_verification as email_verification_required_on_usage | email verification is only required when identifier email is used to login, if mobile number is used, the user will be able to login independent of the mobile_number_verified state | 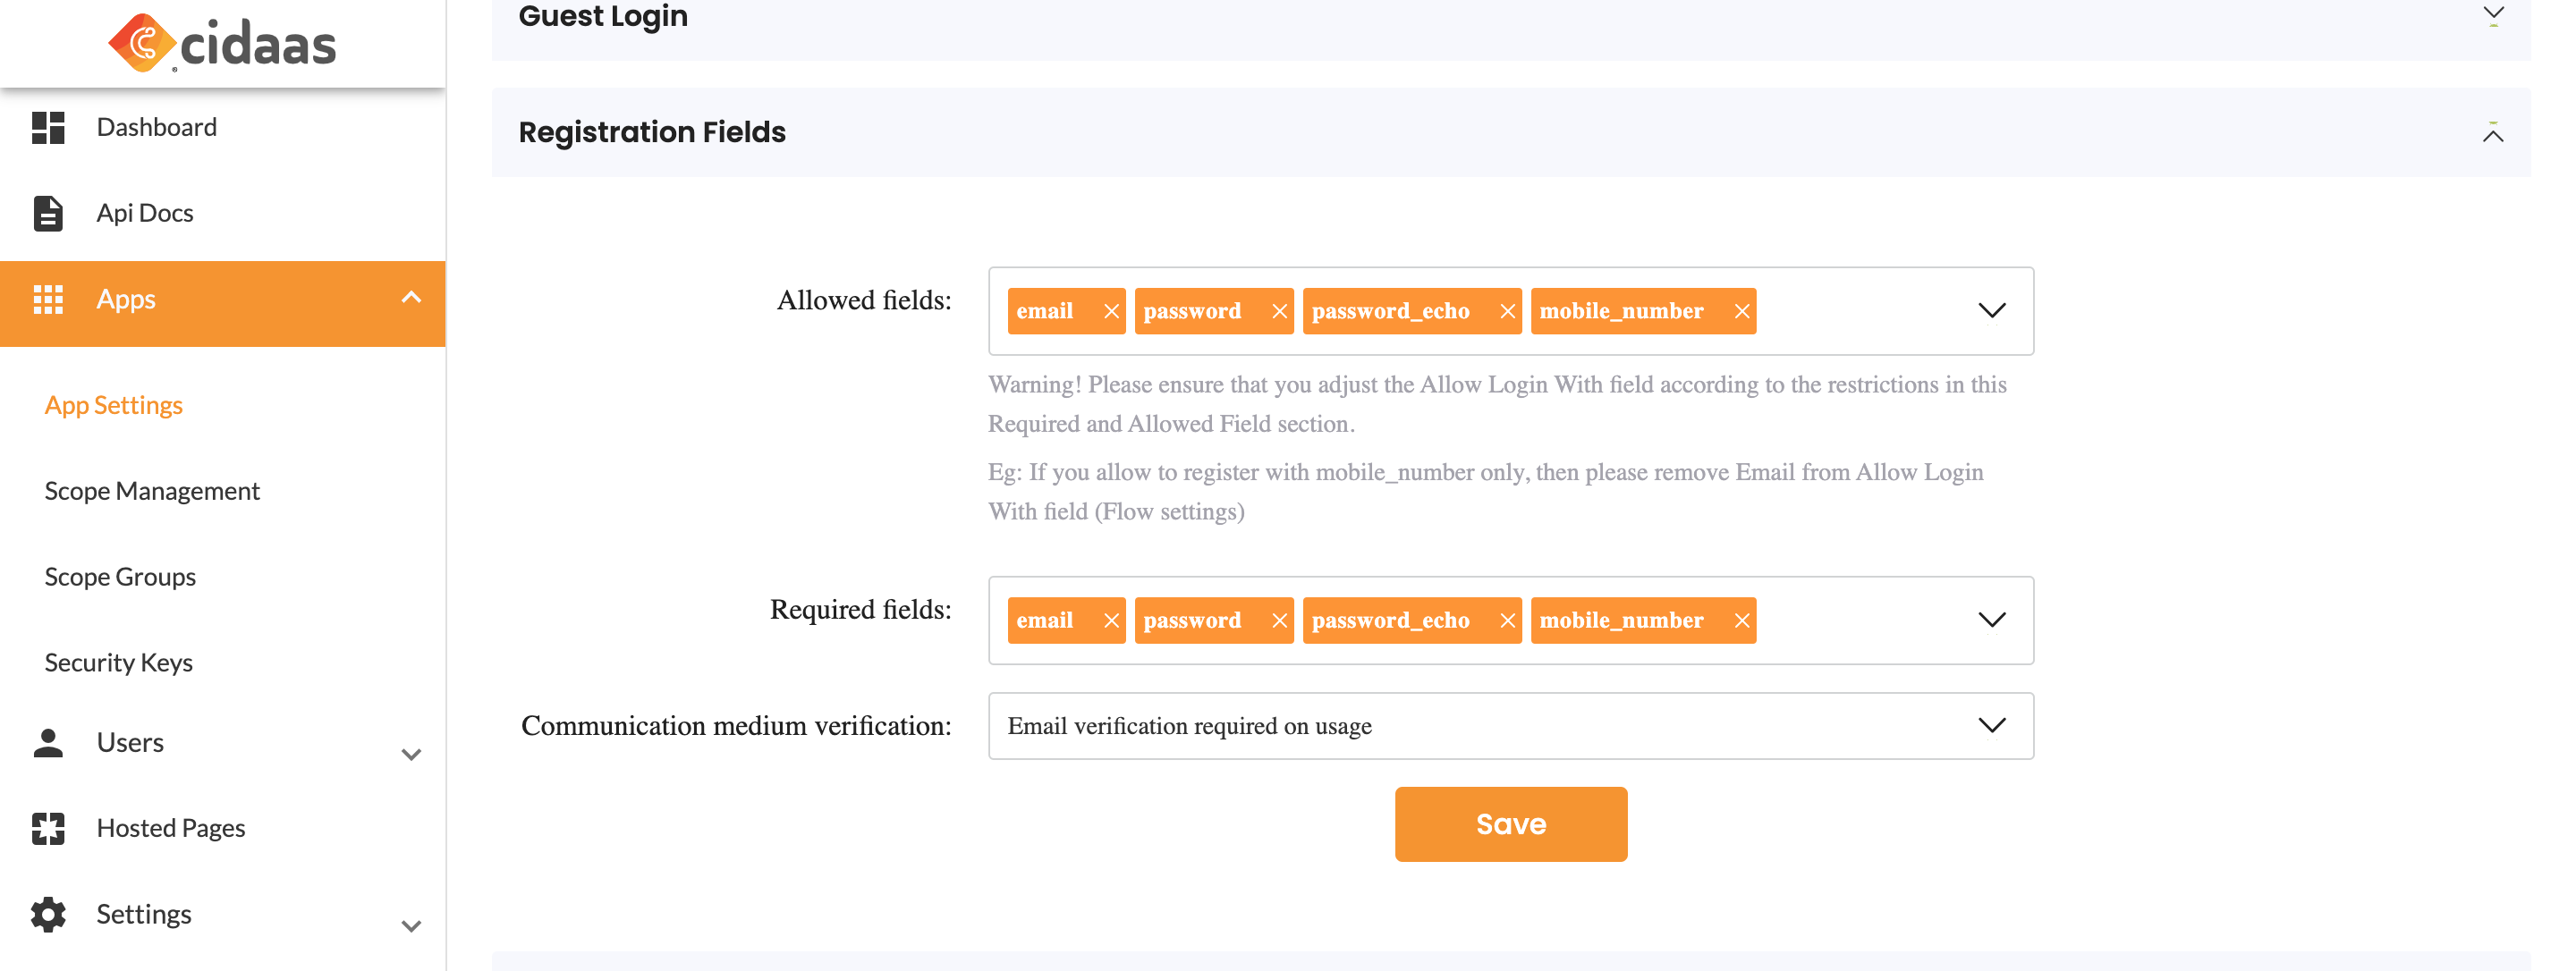 |
| communication_medium_verification as mobile_verification_required_on_usage | mobile verification is only required when identifier mobile is used to login, if email is used, the user will be able to login independent of the email_verified state |  |
Understanding the Flow and APIs
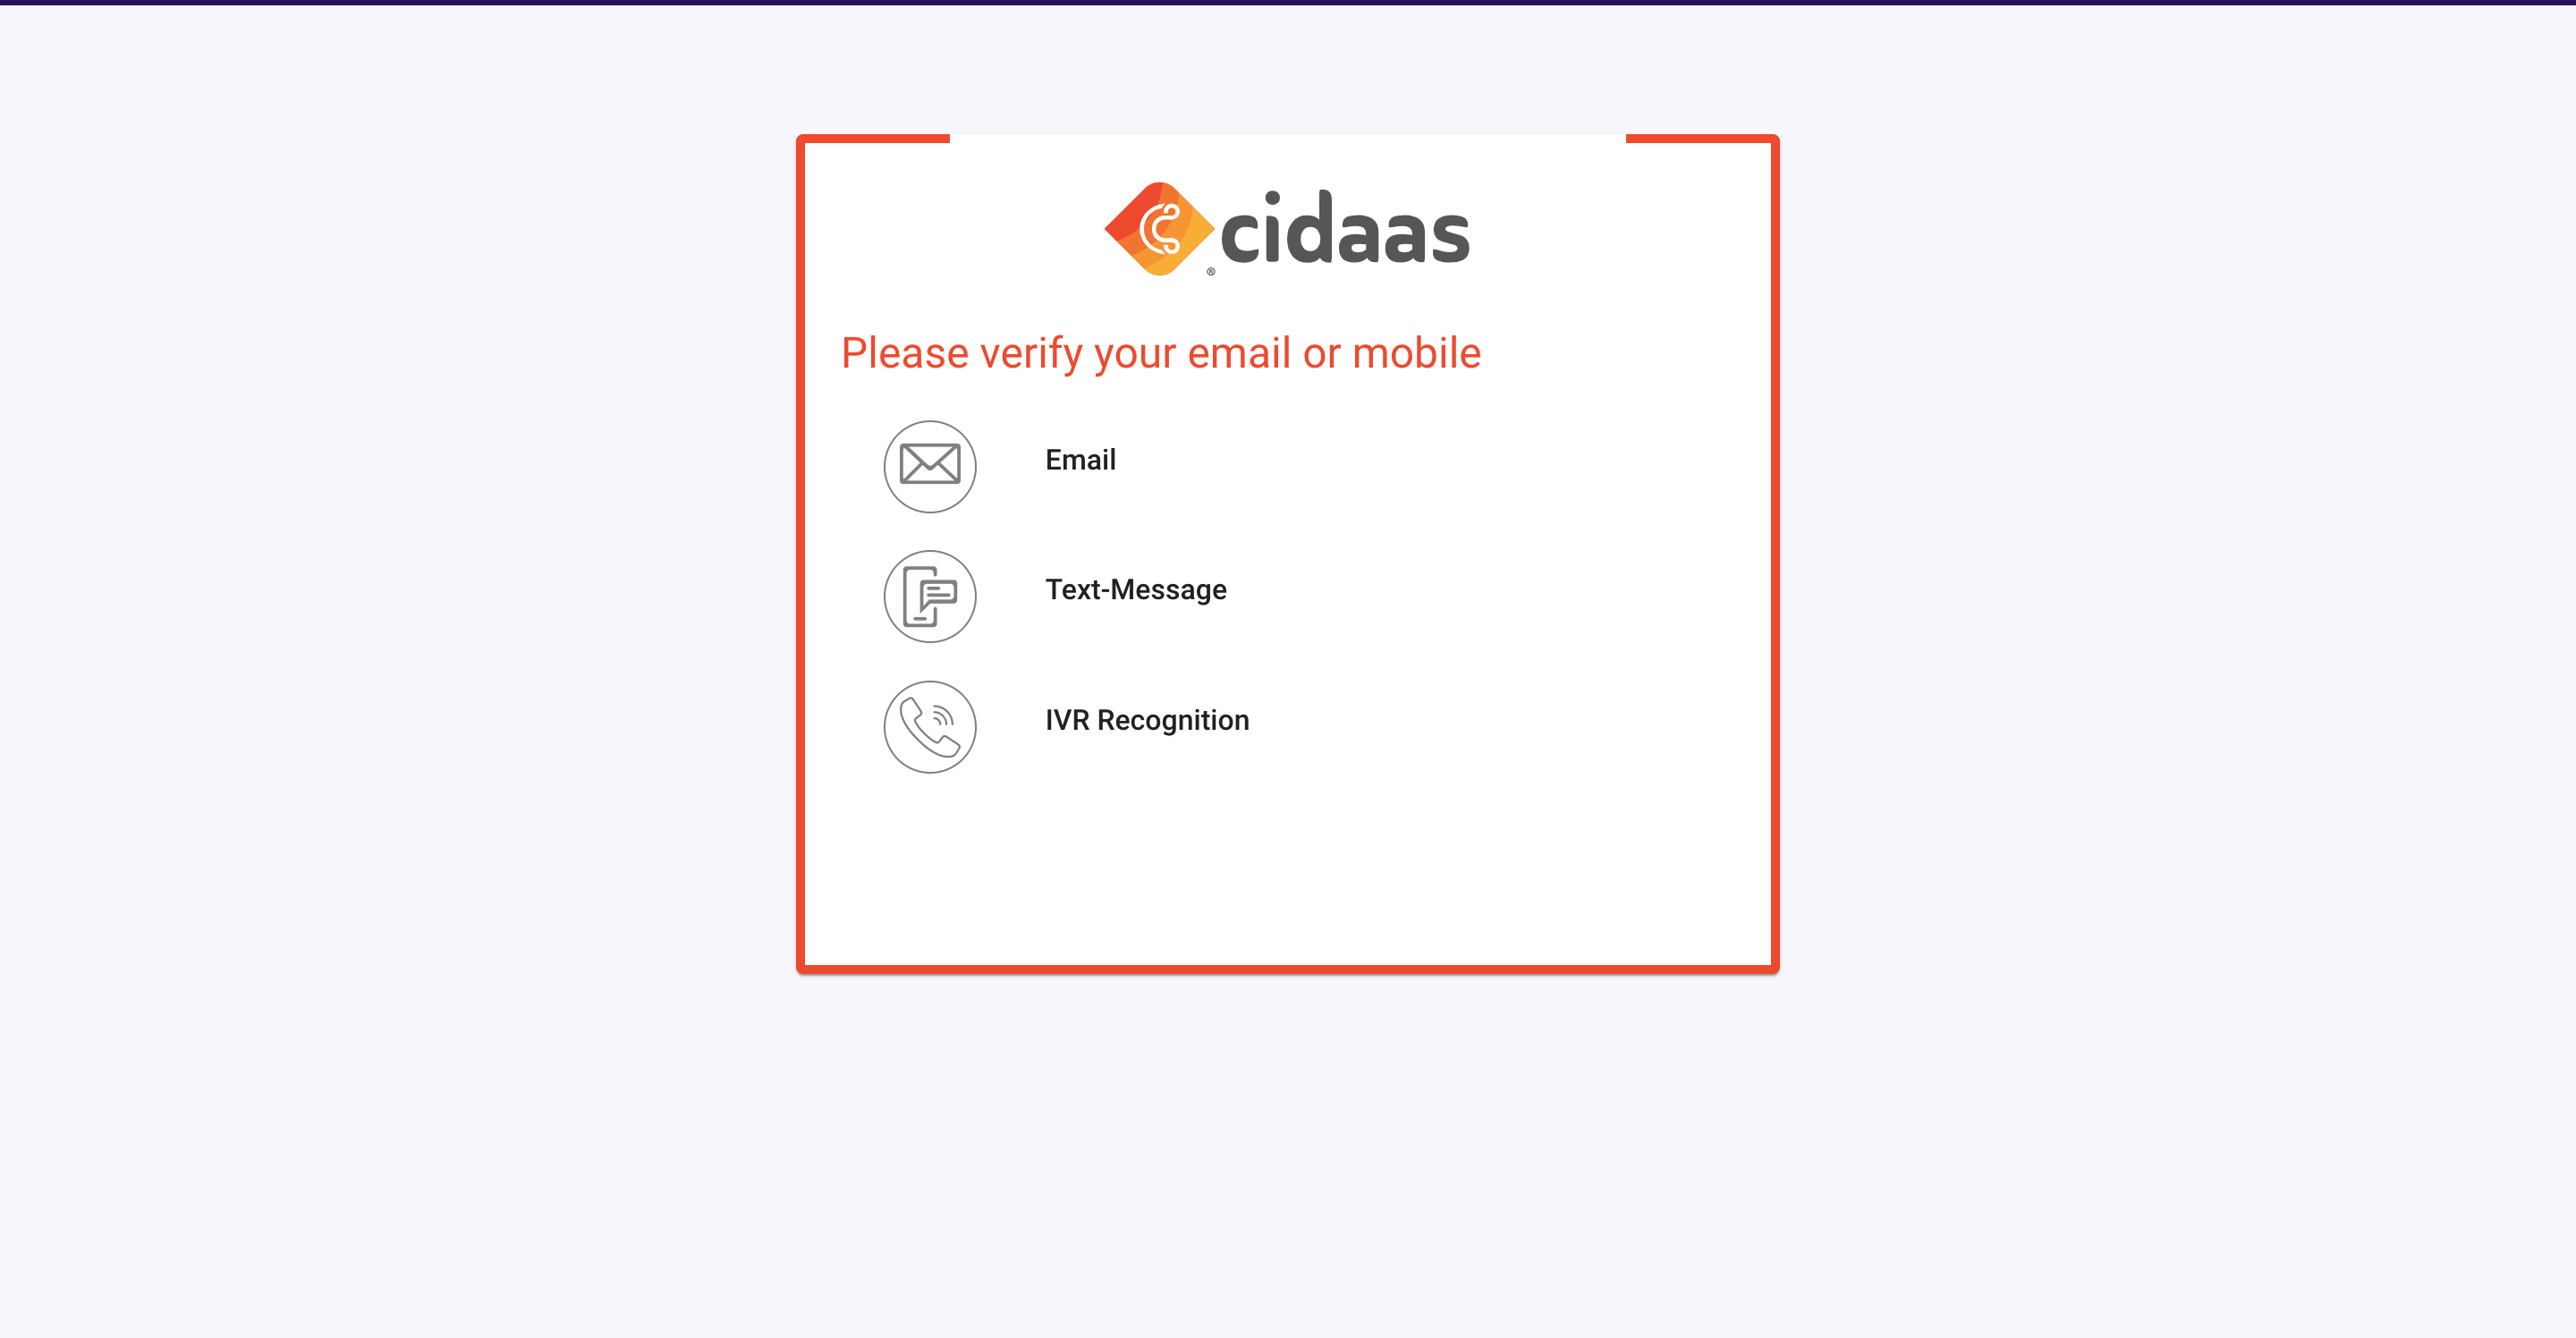
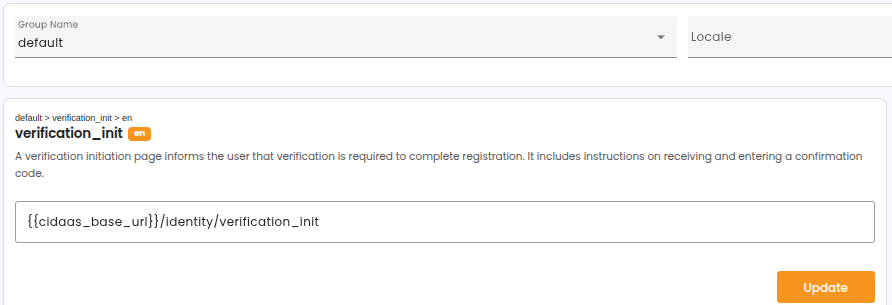
Step 1: Redirection to verification_init
After login or register the user will be redirected to verification_init page.
This might look like this:
curl '{baseurl}/identity/verification_init?error=email_and_mobile_not_verified&error_description=email_and_mobile_not_verified&track_id={trackid}&view_type=login&sub={maskedsub}&q={maskedsub}&loginwith=email&requestId={requestid}' \
  --compressed
The URL is defined by the hosted page key: verification_init.
Step 2: Initiate the account verification
Based on the verification_init page url which medium to verify it will mention email and mobile or only email
| API | Description | Link |
|---|---|---|
| POST Account initiation | To initiate the account verification email or sms or ivr | View API |
Step 3: Verify the account
To verify the email or sms or ivr after account initiate.
| API | Description | Link |
|---|---|---|
| POST Verify | To validate the verification medium. | View API |
Template Specification Table
The table outlines the template's purpose, triggering conditions, supported processing types (such as link or code verification), language priority rules for localization, and required parameters to use the template. Such tables are commonly used in technical documentation to clearly present configuration or usage details for templates, APIs, or UI components
| VERIFY_ACCOUNT Template | Details |
|---|---|
| Purpose | Template asks the user to verify their account |
| Trigger | Account initiation API |
| Processing Types | LINK - Sends clickable verification link CODE - Sends verification code for manual entry |
| Language Priority | 1. ui_locales (from auth request) - Takes precedence 2. accept-language (header) - Fallback option |
| Required Parameters | - Processing type (LINK or CODE) - Language setting (ui_locales or accept-language) |
Implementation using SDKs
This Implementation Guide is based on the default hosted pages which is using an Angular framework based on Typescript. It can be implemented in any other programming language as well.
As a first step you will be redirected to the verification_init page. This section starts to show the APIs to be called when reaching this page:
To install the cidaas-sdk please perform the following command.
npm install cidaas-javascript-sdk
The import to your webapp will be done by using:
this.cidaas_sdk = new WebAuth(options)
Step 1: Init the account verification
    const resp = await this.cidaas_sdk.initiateAccountVerification({
      processingType: `CODE` or `LINK`,
      sub: this.route.snapshot.queryParams['sub'],
      requestId: this.route.snapshot.queryParams['requestId'],
      verificationMedium :"sms or email or ivr",
      track_id: this.route.snapshot.queryParams['track_id'],
});
It will get 302 response as redirect to verification_complete page.
Step 2: verify the account
To finally proceed to verify the initiated verification.
      const resp = await this.cidaas_sdk.verifyAccount({
         accvid: 'your accvid', // which you will get on initiate account verification response
         code: 'your code in email or sms or ivr'
      });
Explore Related Topics
Please contact us on our Developer Support Page.