Claim Consent
Overview
claim consent means the user authorizes the identity provider to release specific identity claims (such as name, email, roles) to an application or relying party, which may be required for authentication and authorization purposes. The user consent ensures they control what personal data is shared with third parties.
Introduction to claims
What are claims?
Claims are user attributes that represent personal information such as given_name, family_name, birthdate, and other identity data.
The OpenID Connect (OIDC) specification defines a standardized set of claims that can be requested and returned in:
- UserInfo Response - Retrieved from the UserInfo endpoint
- ID Token - Included directly in the token.
The claims Authentication Request parameter requests that specific claims be returned from the UserInfo Endpoint and/or in the ID Token.
When Claim Consent is Required
Applications that request claims (such as profile, email, or other user attributes) gain access to personal data. User consent is required whenever an application requests access to this information.
| Criteria | Example | Configuration |
|---|---|---|
| The consent will be requested client-based and only once per client | So when the user agrees, e.g., for your webshop to accept the claim consent, he will be asked again when using your mobile application. | https://demo.cidaas.de/authz-srv/authz?client_id=xxx...&claim={"userinfo":{"given_name": {"essential": true}}} - View API |
| Third Party Application | A Third Party Client is an untrusted client. The user data will then be issued either as id_token or using the userinfo-endpoint to the application. These third-party clients require a transfer of personal data, but before allowing the transfer of personal data, the user's consent needs to be requested. A third-party client type will always request consent for the claims that were requested. |  |
| prompt=consent | The consent will be requested request-based | Even if the user has already agreed to this claim for a particular client, the prompt=consent allows them to present the claim consent again if they are a third-party client https://demo.cidaas.de/authz-srv/authz?client_id=69d81af1...&scope=profile openid&prompt=consent |
How it works
Claim consent is a token condition evaluated before token issuance. When user consent is required for a specific claim.
-
Token Generation Pauses The token issuance process is interrupted when consent is needed.
-
User Notification The user is informed about which claim requires their consent.
-
Consent Required The user must explicitly provide consent before the token can be issued.
Purpose: This mechanism ensures users have transparency and control over their personal data sharing for authentication and authorization purposes.
Understanding the Flow and APIs
Step 1: Redirection to consent_scopes
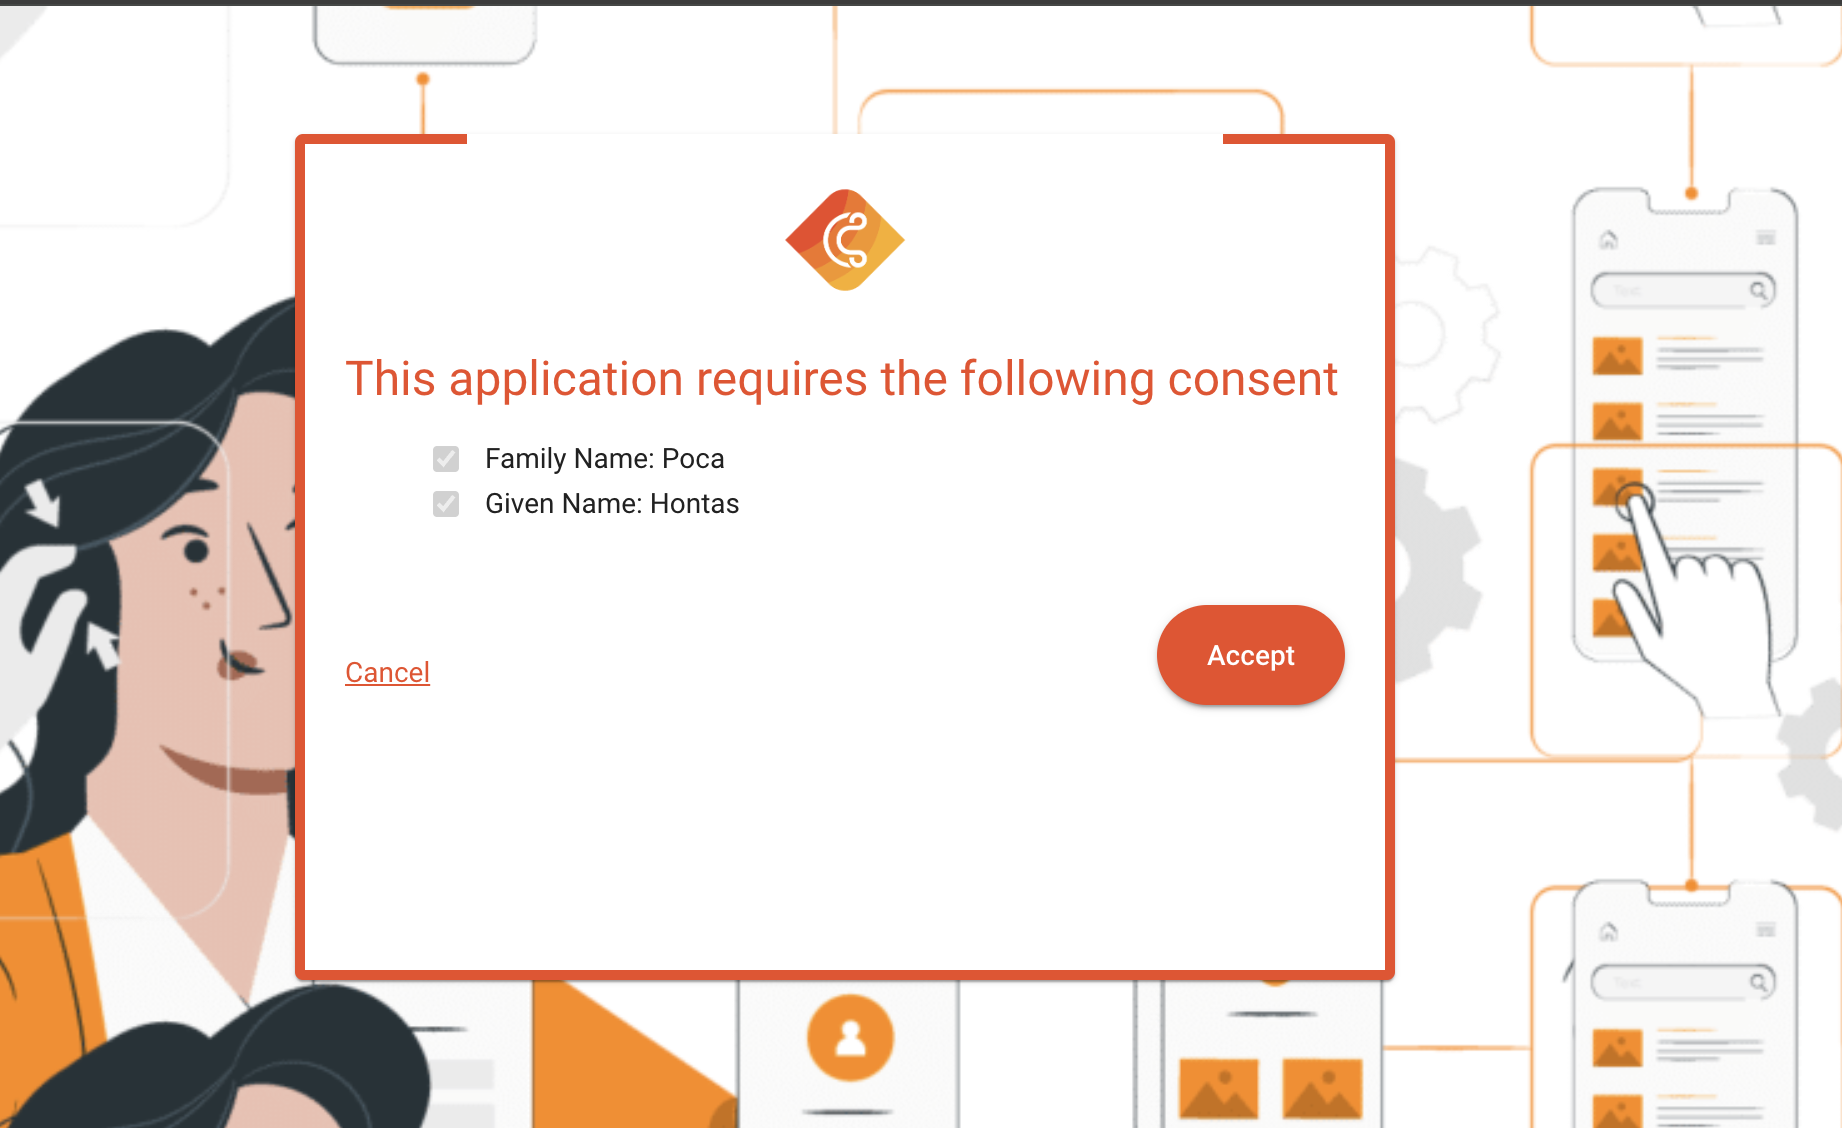
After login the user will be redirected to accept the claim consent. This might look like this:
curl 'https://demo.cidaas.de/identity/consent_scopes?track_id=958ccb4c-3985-4b17-b325-14cd10da292e&requestId=d8ada94d-47e6-4133-9ae3-b5f0a864f7f5&sub=a05b5498-a8f2-4cf4-89b9-bd2fc0b5e13b&q=a05b5498-a8f2-4cf4-89b9-bd2fc0b5e13b&client_id=69d81af1-e4f6-4062-8754-9ee5752a7ca4' \
  --compressed
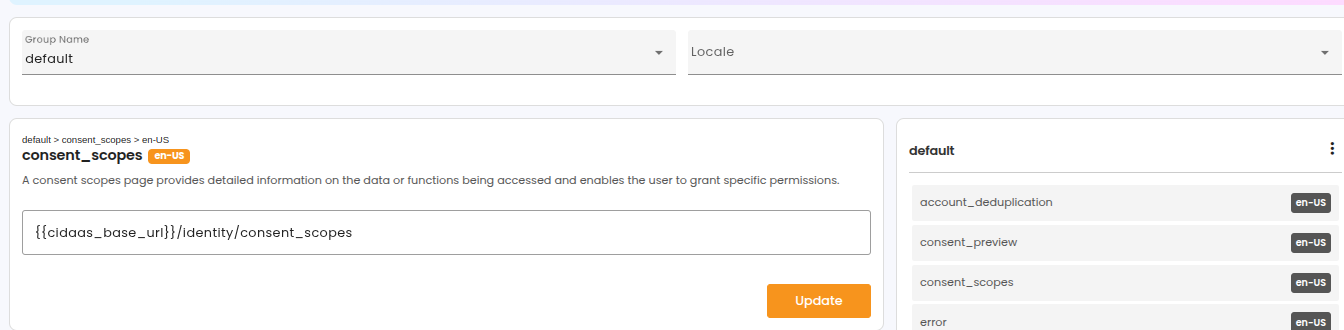
The URL is defined by the hosted page key: consent_scopes.
track_id which is required as input for Step 2. Furthermore, the hosted page consent_scopes are used, which can be configured using the admin dashboard or administrative APIs for managing hostedpages. Furthermore, the track_id is required as input for Step 4 to continue the login process.Step 2: Understanding the Response of Token Prelogin Metadata
The API to return the prelogin metadata information allows you to actually find out which scopes require user consent.
curl 'https://demo.cidaas.de/token-srv/prelogin/metadata/958ccb4c-3985-4b17-b325-14cd10da292e?acceptLanguage=en-US' \
  --compressed
Retrieving the token prevalidation information will reveal which scopes are in status OPEN, so the user must consent to those scopes to be able to continue. This response body illustrates an array of scopes. Whereas in this array, you can also find the value that is accessible to the client when consenting.
{
"data": {
"logged_in": false,
"validation_type": "claim_consent",
"meta_data": {
"amr_values": [
103
],
"required_claims": [
"string"
],
"claims_values": {
"address": {
"street_address": "Berlin"
},
"birthdate": "1994-09-01",
"email_verified": true,
"family_name": "Samantha",
"given_name": "Stark",
"locale": "en-US"
}
},
"used": false
}
}
required_claims as well as the claims_values, which allows you to present to the user transparently all claims values that are accessible after consent. required_claims are required as input for the Step 3 as accepted_claims .Step 3: Accepting the claims
Accepting claim consent can be done using a POST-call, providing all claim keys from the metadata, as well as using the masked sub and the client_id returned in the redirection
curl 'https://demo.cidaas.de/consent-management-srv/consent/claim/accept' \
  -X 'POST' \
  --data-raw '{"sub":"b05b5498-a8f2-4cf4-89b9-bd2fc0b5e13b","client_id":"69d81af1-e4f6-4062-8754-9ee5752a7ca4","accepted_claims":["contract"]}' \
  --compressed
Step 4: Continue the login Process
The final call will allow you to issue a token or code, depending on the grant you are using. It will again verify if all required consents are provided. If the fulfillment was not successful and the user has not accepted the required scope, they will again end up on the scope consent page.
curl 'https://demo.cidaas.de/login-srv/precheck/continue/958ccb4c-3985-4b17-b325-14cd10da292e' \
  -X 'POST' \
  --compressed
Developer Perspective
| API | Description | Link |
|---|---|---|
| GET Pre-Login Metadata | This API will provide you the information which user interaction is required to complete e.g. which consent is missing. It mostly is required for Request for User Consent or User Information and no other conditions | View API |
| POST Accept Claim Consent | To accept the claim consents which were requested and determined to be required for this authentication process | View API |
| POST Continue Login | To continue the Login so that a code or token is issued, the continue API call will proceed | View API |
Implementation using SDKs
This Implementation Guide is based on the default hosted pages, which use an Angular framework based on Typescript. It can be implemented in any other programming language as well.
As a first step, you will be redirected to the consent_scopes page. This section starts to show the APIs to be called when reaching this page:
To install the cidaas-sdk please perform the following command
npm install cidaas-javascript-sdk
The import to your webapp will be done by using:
this.cidaas_sdk = new WebAuth(options)
Step 1: Retrieving the Missing Claims using Token Prelogin Metadata
    const resp = await this.cidaas_sdk.getScopeConsentDetails({
      track_id: this.route.snapshot.queryParams['track_id'],
      locale: navigator.language,
      requestId: this.route.snapshot.queryParams['requestId'],
});
Using the response of this API call, you can render the UI as displayed above. It will present the scope key as well as you are able to present the values which are able to be requested during the userinfo or even provided in the id_token.
Step 2: Accepting the claim
To finally proceed with the authentication process and be able to use your service, the user must click on the accept button. The final call will accept the claim consent by providing all claim keys which you received from the above request to the below request body (required_claims).
      const resp = await this.cidaas_sdk.acceptClaimConsent({
        sub: this.route.snapshot.queryParams['sub'],
        client_id: this.route.snapshot.queryParams['client_id'],
        accepted_claims: required_claims
      });
Step 3: Continue the login Process
The scopeConsentContinue will continue the login process, and finally, the user will be redirected to the provided redirect_uri.
    const resp = await this.cidaas_sdk.scopeConsentContinue({
      sub: this.route.snapshot.queryParams['sub'],
      client_id: this.route.snapshot.queryParams['client_id'],
      track_id: this.route.snapshot.queryParams['track_id'],
    });
Explore Related Topics
Please contact us on our Developer Support Page