TOTP (Authentication)
This is a technical guide on how to implement the TOTP authentication by simply following the steps below.
What is TOTP?
TOTP is a computer algorithm that generates a one-time password (OTP) that needs to be verified by the user within a limited time for passwordless authentication.
It is one of multiple different authentication methods.
When is a user able to use TOTP authentication?
| Criteria | Example | Configuration |
|---|---|---|
| User Verification Setup | The user has to log in to the portal and can enroll the TOTP using either the cidaas App or any other custom Authenticator App | |
| Allowed Verification Methods | An app setting to configure TOTP authentication as a login method. |  |
Understanding the Flow and APIs
| API | Description | Link |
|---|---|---|
| Get the configured authentication methods | Displays the configured authentication methods of a user | Link to API |
| Initiate the authentication | This API is used to initiate the configured authentications, e.g., when a user clicks on the Backup code authentication, it initiates the Backup code authentication. | Link to API |
| Perform the authentication | After successfully authenticating by entering the Backup code, the enrollment completion will finally enroll the user. | Link to API |
| Finish up the authentication and continue login | Continue the login process once the authentication is successful. | Link to API |
Step 1: Allow TOTP in the App settings
In the Admin portal, you need to make the TOTP verification type an allowed authentication method under App advanced settings.
To do that,
You can change your existing application, by navigating to Apps -> App Settings -> Edit -> Advanced Settings -> Authentication -> MFA -> Authentication -> TOTP
Step 2: Rendering the user verification methods
Before initiating the TOTP authentication, perform an Authorization (Authz) call and generate the requestId, then use it in the upcoming API calls.
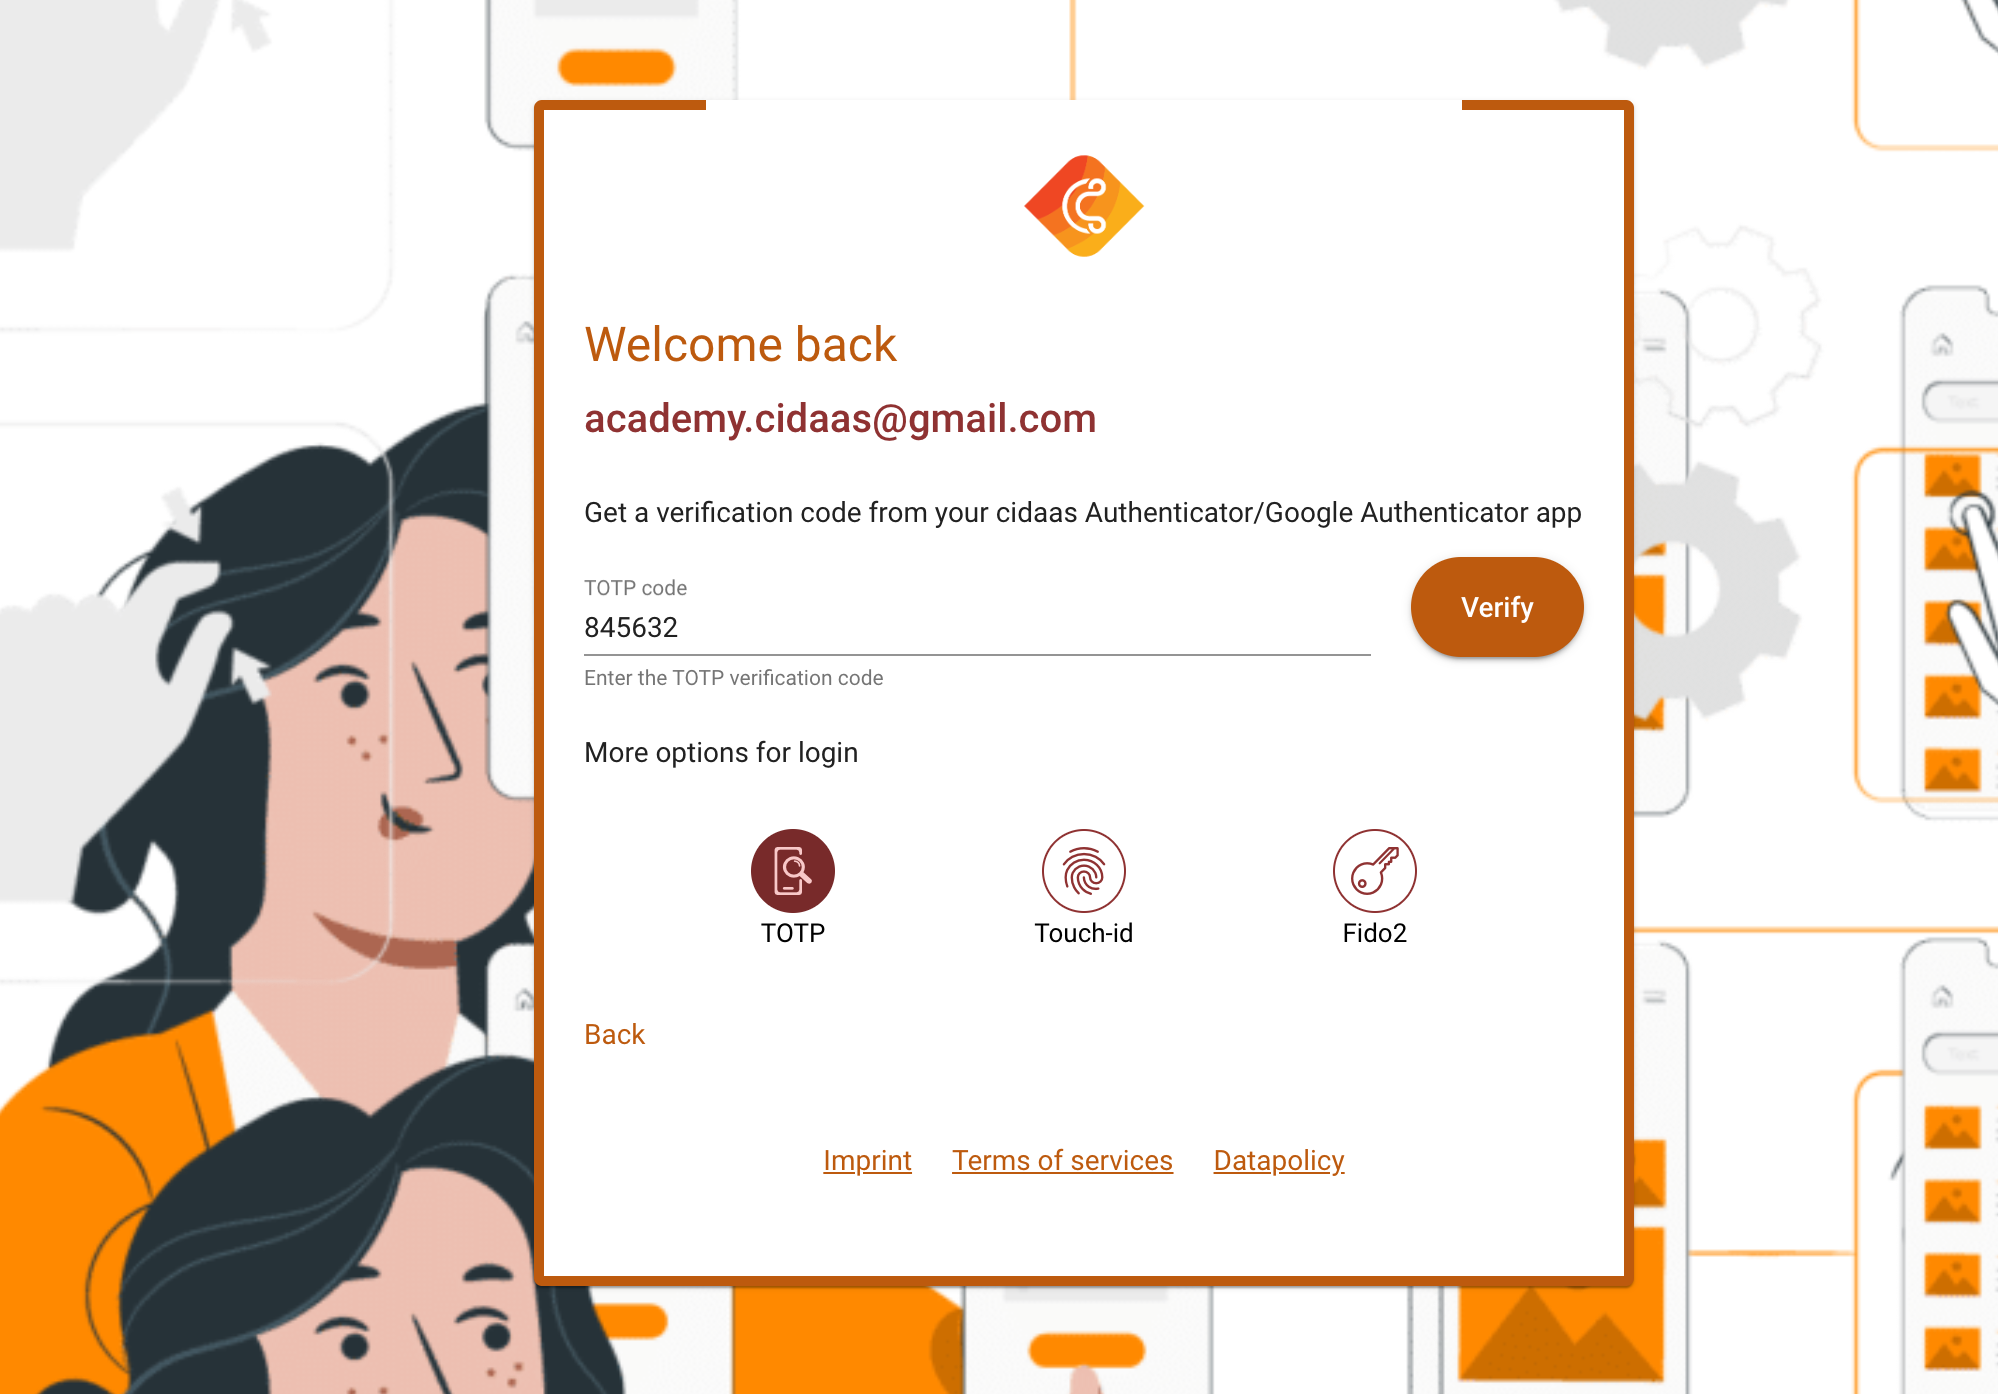
The first call will be to get the configured verification methods for a user. Based on the response, you provide a selection of verification methods for your user. Below is a demo of how this can look by presenting different verification icons.
Call the configured verification methods of a user. This will filter the user configured verification methods and the app level configuration.
| API | Description | Link |
|---|---|---|
| Get the configured authentication methods | Displays the configured authentication methods of a user | Link to API |
This API requires you to provide the user identifier(could be an email, mobile number or any other identifiers) and the requestId. It returns the type as TOTP if the user has configured.
Request
curl --location '{{base_url}}/verification-srv/public/graph/user/setup' \
--header 'content-type: application/json' \
--data-raw '{
    "request_id": "df08cabb-4b8c-4181-9f6f-f6948802ebf7",
    "identifier": "[email protected]"
}'
This will return the list of all verification methods available for the user to authenticate.
Response
{
    "success": true,
    "status": 200,
    "data": {
        "configured_list": [
            {
                "type": "TOTP"
            }
        ]
    }
}
Step 3: Initiating TOTP authentication
When the user selects TOTP in the list of authentication methods, the initiate API needs to be called.
| API | Description | Link |
|---|---|---|
| Initiate the authentication | Initiates the login authentication process via TOTP verification method | Link to API |
This API initiates the TOTP authentication. It returns an exchange_id, status_id and masked sub which is useful for the Step 4
Request
curl --location '{{base_url}}/verification-srv/authentication/totp/initiation' \
--header 'content-type: application/json' \
--data-raw '{
    "usage_type": "PASSWORDLESS_AUTHENTICATION",
    "request_id": "df08cabb-4b8c-4181-9f6f-f6948802ebf7",
    "medium_id": "cd7e9166-99d1-4d36-bc8f-3c8ffb2ad011",
    "email": "[email protected]"
}'
This will return a status_id, exchange_id, and masked sub which are unique for this process and the following steps will rely on this being provided.
Response
{
"success": true,
"status": 200,
"data": {
"exchange_id": {
"exchange_id": "455fd20d-837d-43a6-a212-a02eeea1a46b",
"expires_at": "2024-01-10T20:45:51.781Z"
},
"sub": "6837c08e-d748-4091-8d8e-a3e24f30e0f8",
"status_id": "710792ba-32f9-4d2d-8584-fefa3a6d94b8"
}
}
Step 4: Perform the authentication
The user enters the TOTP code and it should be authenticated using the following API.
This API requires you to provide the passcode (totp value) and exchange_id (exchange id received from Step 3)
| API | Description | Link |
|---|---|---|
| Perform the authentication | Complete the authentication process using the mobile App on TOTP authentication method. | Link to API |
This API performs the authentication when the user completes TOTP authentication in the browser. It returns a new exchange_id and status_id which is required as input for the Step 5.
Request
curl --location '{{base_url}}/verification-srv/authentication/totp/verification' \
--header 'Content-Type: application/json' \
--data '{
    "exchange_id": "455fd20d-837d-43a6-a212-a02eeea1a46b",
    "type": "TOTP",
    "passcode": "123456"
}'
This will return a new exchange_id which is unique for this process and the following steps will rely on this being provided.
Response
{
  "success": true,
  "status": 200,
  "data": {
    "exchange_id": {
      "exchange_id": "dab51b25-2ae9-4bbe-ad5a-6f1d8c554dd5",
      "expires_at": "2024-01-12T08:13:56.052Z"
    },
    "sub": "6837c08e-d748-4091-8d8e-a3e24f30e0f8",
    "status_id": "710792ba-32f9-4d2d-8584-fefa3a6d94b8"
  }
}
Step 5: Finish up the login process
Once the user has successfully completed the authentication, finish the login process by calling the following API. This will redirect when the authentication is successful to the provided redirect_uri including a code or an access_token depending on the OAuth2 Flow used. Link to API
curl --location '{{base_url}}/login-srv/verification/login' \
--header 'content-type: application/x-www-form-urlencoded' \
--data-urlencode 'requestId=df08cabb-4b8c-4181-9f6f-f6948802ebf7' \
--data-urlencode 'verificationType=TOTP' \
--data-urlencode 'sub=6837c08e-d748-4091-8d8e-a3e24f30e0f8' \
--data-urlencode 'status_id=710792ba-32f9-4d2d-8584-fefa3a6d94b8' \
| API | Description | Link |
|---|---|---|
| Continue Login After Passwordless Authentication | Continue the login process once the authentication is successful. | Link to API |
Implementation using Javascript SDK
To authenticate the user via TOTP using the Javascript SDK, follow the below steps
To install the cidaas-sdk please perform the following command
npm install cidaas-javascript-sdk
The import to your webapp will be done by using:
const cidaas = new CidaasSDK.WebAuth(options);
Step 1: Rendering the user verification methods
const mfaList = await this.cidaas.getMFAList({
    email: e.email,
    request_id: this.route.snapshot.queryParams['requestId'],
});
The UI will be rendered based on this response by displaying all configured verification methods.
Step 2: Initiating a TOTP authentication
When the user selects TOTP in the list of authentication methods, the initiateMFA method needs to be called.
const payload: IInitiateMFAPayload = {};

// pushIndex is the index of the type TOTP in the list and deviceIndex is the index of the device in the mediums list
const medium_id = mfaList[pushIndex]['mediums'][deviceIndex]['id'];

// usage_type should be PASSWORDLESS_AUTHENTICATION or MULTIFACTOR_AUTHENTICATION or INITIAL_AUTHENTICATION
payload['usage_type'] = 'PASSWORDLESS_AUTHENTICATION';

// requestId should come in the login hosted page query param
payload['request_id'] = this.route.snapshot.queryParams['requestId'];

payload['medium_id'] = medium_id;
payload['type'] = this.verificationType;

const initResp = await this.cidaas.initiateMFA(payload);
Step 3: Perform the authentication
When the user completes the TOTP authentication, the authenticateMFA method needs to be called.
let options = {
        requestId: this.route.snapshot.queryParams['requestId'],
        exchange_id: this.exchangeId,
        type: this.verificationType,
        passcode: "123456"
    };
const authenticateResp = await this.cidaas.authenticateMFA(options)
Step 4: Continue the Login Process
Once the user successfully completed the authentication, finish the login process by calling the passwordlessLogin method. This will redirect to the provided redirect_uri including a code or an access_token depending on the OAuth2 flow used.
let options = {
  requestId: this.route.snapshot.queryParams['requestId'],
  verificationType: this.verificationType,
  sub: this.sub,
  status_id: this.status_id
};

this.cidaas.passwordlessLogin(options);
Please contact us directly on our support page or reach out to cidaas support at [email protected].