Magic Link
This is a technical introduction on how you can implement the Magic Link by simply following the below steps.
Step 1: In your application, you need to allow email authentication. To do this, you can change your existing application, navigate to Authentication > Add Email as Authentication Method
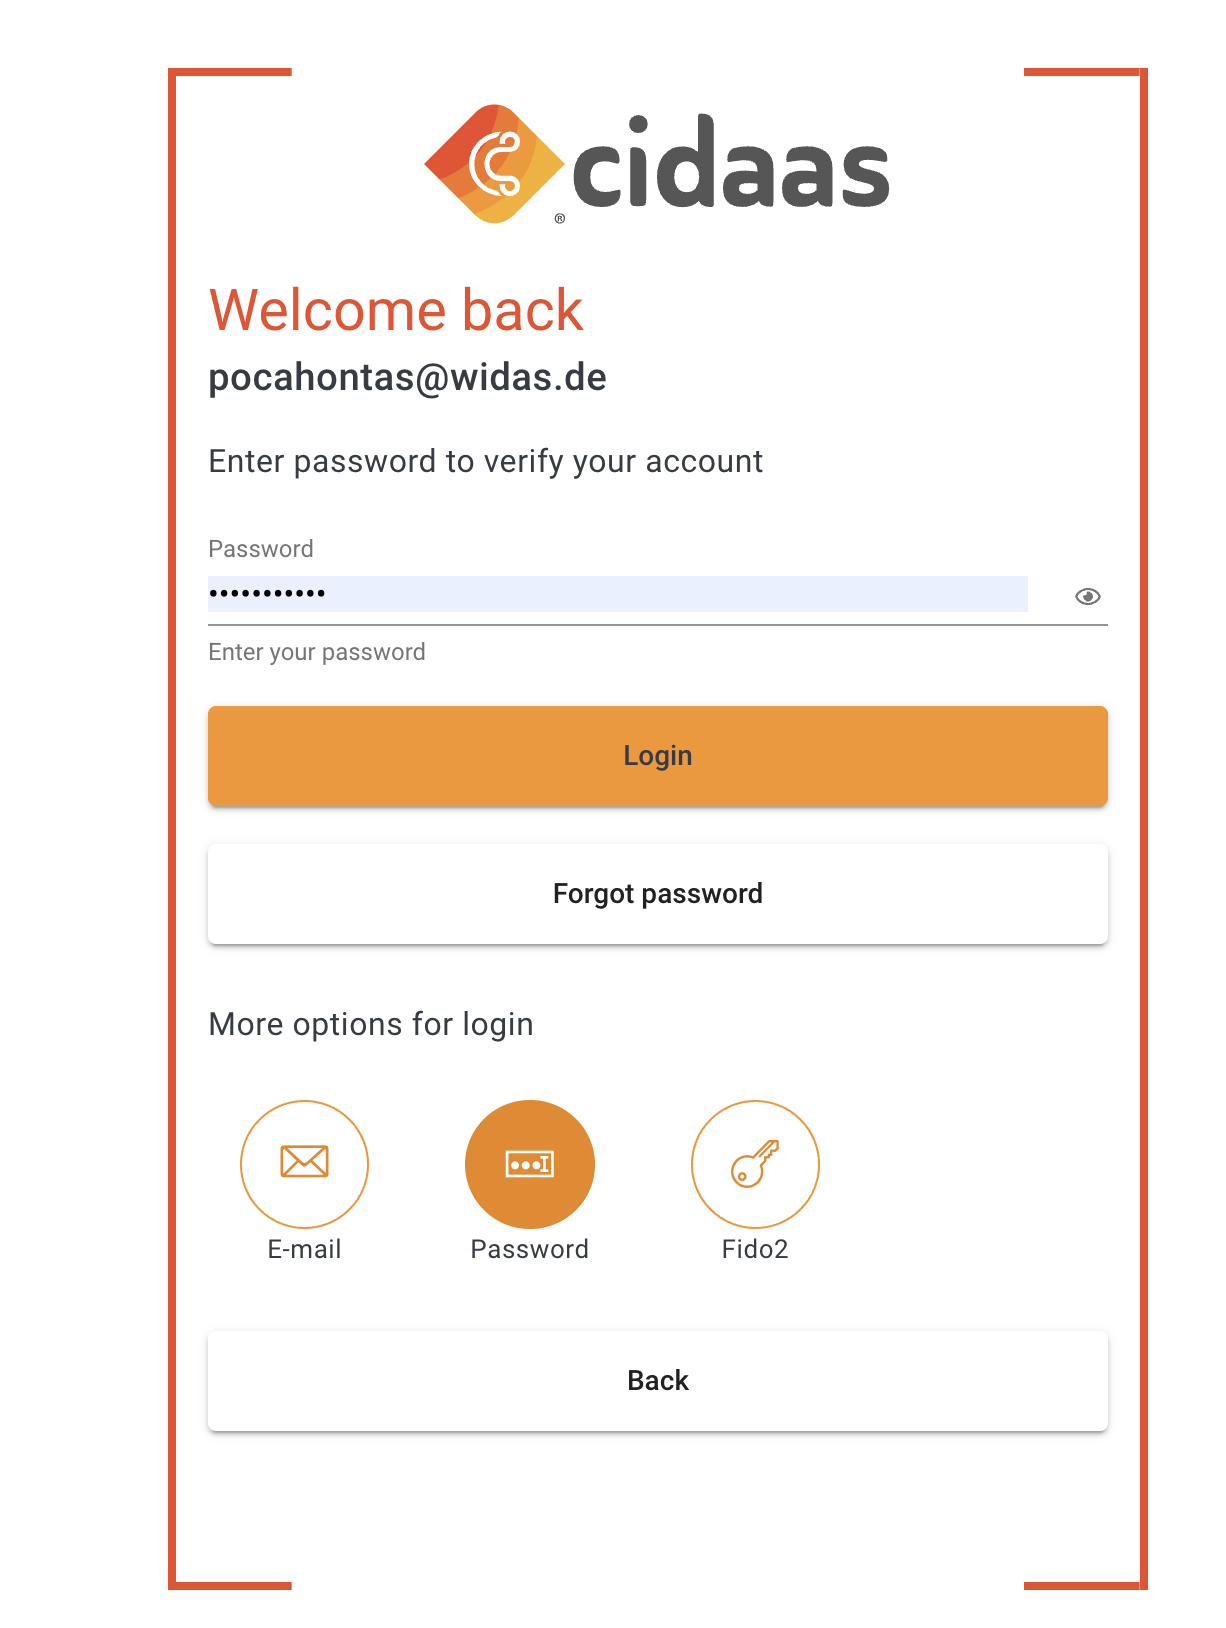
Step 2: Before initiating the Magic Link, you will perform an Authorization (Authz) call and use the requestId in the upcoming calls. The first call will be to get the configured verification methods for a user. Link to API. You can also visualize this, for example by showing the different icons that are possible to use for authentication:
curl --location '{{base_url}}/verification-srv/public/graph/user/setup' \
--header 'content-type: application/json' \
--data-raw '{
    "request_id": "{{requestId}}",
    "identifier": "{{identifier}}"
}'
medium_id which is required as input for the Step 3Step 3: When the user selects Email or SMS, you need to initiate the Authentication using Code as paramete: Link to API
curl --location '{{base_url}}/verification-srv/authentication/email/initiation' \
--header 'content-type: application/json' \
--data-raw '{
    "usage_type": "PASSWORDLESS_AUTHENTICATION",
    "request_id": "df08cabb-4b8c-4181-9f6f-f6948802ebf7",
    "medium_id": "ca46cs99-2fc1-4aaa-9e35-e097c3c2ceff",
    "processingType": "LINK",
    "email": "[email protected]"
}'
status_id which is required as input for the Step 4. Furthermore, the template VERIFY_USER for LINK is used and might be required to create it using verify_link as input variable.Step 4: Using the status_id, you can now start polling. As long as the user has not clicked the link, the body returned will be unverified. As soon as the user has authenticated you will receive a data.status:AUTHENTICATED to continue with Step 5. Link to API
curl --location '{{base_url}}/verification-srv/verificationstatus/{status_id}' \
--header 'content-type: application/json'
This response will contain, as long as it is not verified:"data.status": "INITIATED"
data.status=AUTHENTICATED. The input is required from Step 3 providing the status_id and sub to continue the login process.Step 5: Continue the login process by performing the login call. This API will redirect when the authentication is successful to your provided redirect_uri including a code or an access_token depending on the OAuth2 Flow used. Link to API
curl --location '{base_url}/login-srv/verification/login' \
--header 'content-type: application/x-www-form-urlencoded' \
--data-urlencode 'requestId=7266cfb3-3972-4a4d-9c70-a57f38f9d8c9' \
--data-urlencode 'verificationType=email' \
--data-urlencode 'sub=7323e891-6991-46e7-ba7e-14c8e89eaeb8' \
--data-urlencode 'status_id=22c7659e-ce8b-4f4d-9b74-934ada366f0f' \
--data-urlencode 'rememberMe=true'
Overview of the APIs Used
| API | Description | Link |
|---|---|---|
| Get the configured authentication methods | Displays the configured authentication methods on the user login page, e.g., after configuring a pattern; The user gets the pattern mfa on the login page. | Link to API |
| Initiate the authentication | This API is used to initiate the configured authentications, e.g., when a user clicks on the touch id authentication, it initiates the touch id authentication. | Link to API |
| Check Authentication Status | This API is used to verify the authentication status | Link to API |
| Continue Login After Passwordless Authentication | After successfully authenticating, you can proceed with the login process | Link to API |
Please contact us directly on our support page or reach out to cidaas support at [email protected].