Creating a ID validator configuration
Granting the roles to configure the cidaas ID validator
In order to gain access to the cidaas ID validator section in the Admin UI you need to assign yourself the mandatory roles(s).
In the Admin UI open the section User Search & Setup in the sidebar and select the User Search entry.
In the now open view, click on the search field and enter your name.

Ideally you should only get a single result. On that card click on the three dots in the top right corner and in the now open context menu select the option Edit User. This opens the details of your user (or the user you want to grant the roles).
Open the section Groups & Roles and in the field Cidaas Admin add the role IDVAL_ACCOUNTANT by clicking on the dropdown and checking the role.

Hit the Save button. You now have the needed roles to configure the cidaas ID validator!
Troubleshooting
Should you still not see the ID validator entry in the sidebar there are multiple options:
- Reload the page by pressing
F5while the browser window is in focus - Log out of the Admin UI and login again
- If both options do not help, please get in touch with the support
Creating a configuration
To perform an ID validation, a configuration must be created.
The ID validator configuration defines how an ID validation is executed. Multiple configurations can exist to support different projects, departments, or assurance levels.
First open the section ID validator in the sidebar and click on ID validation Settings. Afterwards in the header section of the now open screen, please select Create a configuration

General Section
The first section we will be looking at - and the only one mandatory - is the general section.
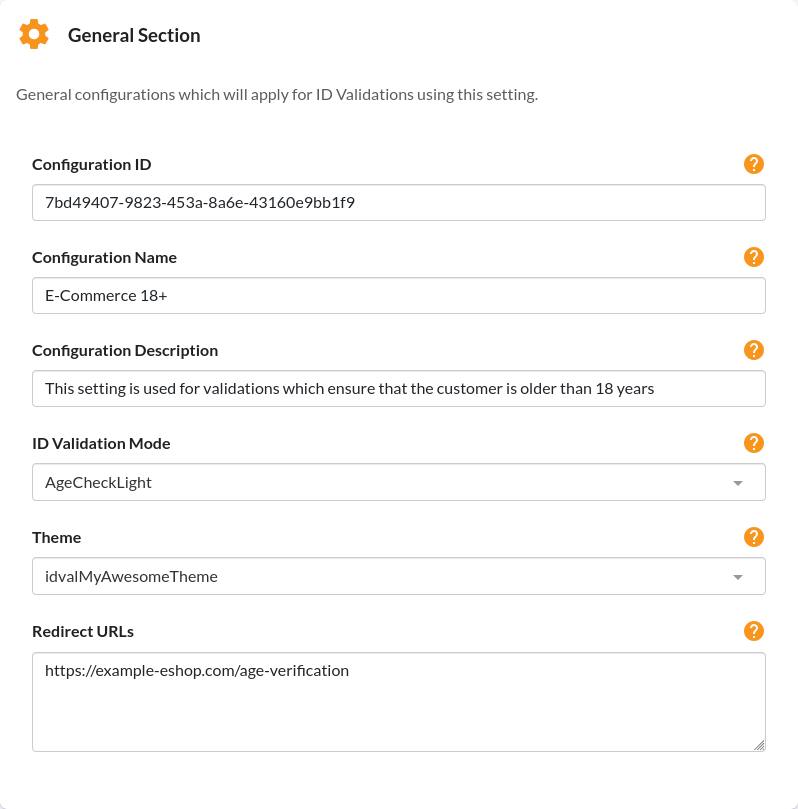
| Attribute | Description |
|---|---|
| Configuration ID | Unique identifier assigned by the system |
| Configuration Name | The name of the configuration shown in the configuration overview menu |
| Configuration Description | Detailed description of the configuration which will be shown in the configuration overview menu |
| ID validation Mode | The used ID validation mode |
| Theme | Theme applied for this configuration |
| Redirect URLs | List of allowed URLs which the end-user may be redirected to after completing the ID validation |
For example a valid configuration may look as follows.
Consent Configuration
In order to be able to perform the ID validation and process the resulting data legally, we are reliant on a consent being supplied by the end-user. The cidaas ID validator supports two different scenarios. Either the consent to allow processing of data is already supplied prior to the ID validation in your system or the consent is given by the user during the ID validation.
Consent provided prior to Validation
If the consent configuration section is disabled for the used configuration you need to supply additional consent information whenever you create a new ID validation using said setting. In the configuration user interface this will be indicated with a special warning message:
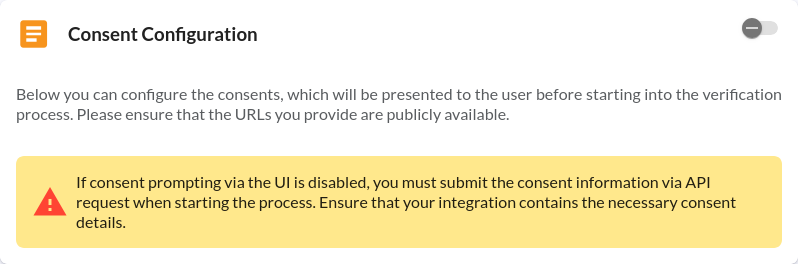
Additional information on how to supply the consent during the creation of an ID validation can be obtained in the API Documentation
Consent provided during Validation
If you want the end-user to grant their consent during the ID validation you need to enable the feature by switching it on via the toggle button in the top-right corner.
Once the feature is enabled you can setup a new consent by clicking the "+" button in the bottom-left corner.

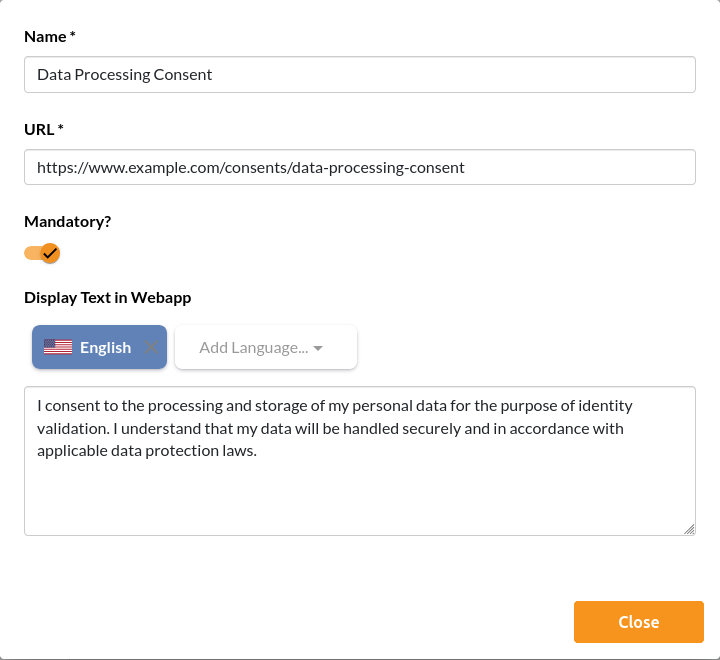
A modal will appear, in which you can configure the consent. Following sections are part of the consent.
| Attribute | Description |
|---|---|
| Name | Name of the consent. Only visible to you. |
| URL | URL pointing to a publicly available web page which contains the details of the consent. You are responsible to ensure that the provided URL is publicly reachable, contains the consent and is kept up-to-date! |
| Mandatory | Defines context as mandatory or optional. |
| Display Text in Webapp | Text which will be shown to the end-user during the ID validation when they are prompted to grant their consent. At least one localization is mandatory. |
After you entered all data the consent may look similar as follows.
Your consent should include following points:
- What personal data will be collected during the ID validation process
- How this data will be processed, stored, and protected
- The legal basis for processing (e.g., GDPR Article 6)
- User rights regarding their personal data
- Retention periods for ID verification data
- Any third-party processors involved in the verification
Please feel free to reach out to us and we will provide you with templates that you can review with your legal departments.
Document Data Matching
In the Document Data Matching Configuration you define which attributes are compared with the data extracted from the ID document. This serves as an additional measure for more secure ID validation.
It is particularly recommended in eIDAS-regulated use cases and onboarding scenarios, where a higher assurance level is required.
In age verification scenarios, data matching is often less relevant, since many users register with pseudonyms that cannot be matched to an official ID document. Nevertheless, other security features ensure that the ID card presented is authentic and represents a genuine document.
Once enabled you can enable or disable each of the fields separately.
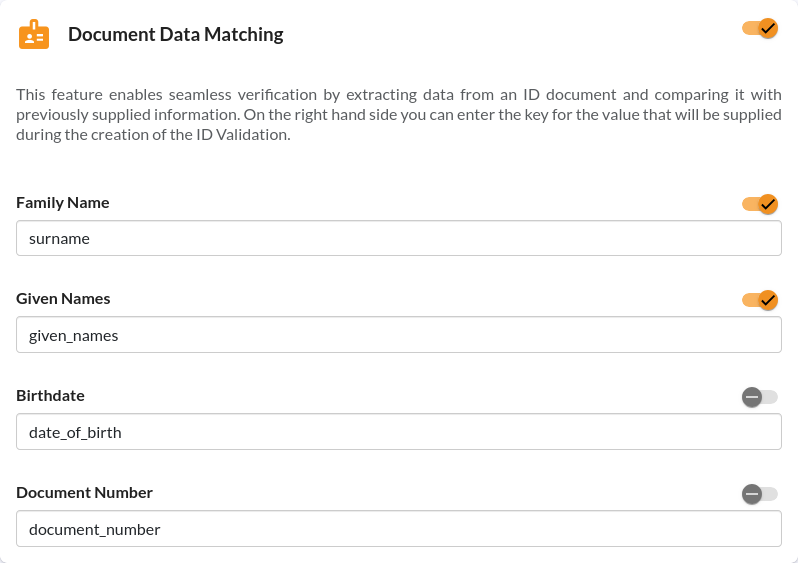
The editable input defines the key of the field which needs to be supplied during the creation of an ID validation. Find further information in the API Documentation.
Prevalidation Configuration
In this section you can define which information should be confirmed before the actual ID validation process starts. This allows the system to check and validate the user-provided input against your existing records (e.g. contract number, employee ID, date of birth) before the actual ID validation begins.
We recommend using prevalidation as an additional security barrier, especially in eIDAS-regulated use cases or sensitive onboarding scenarios.
Once enabled you will be asked to provide details.

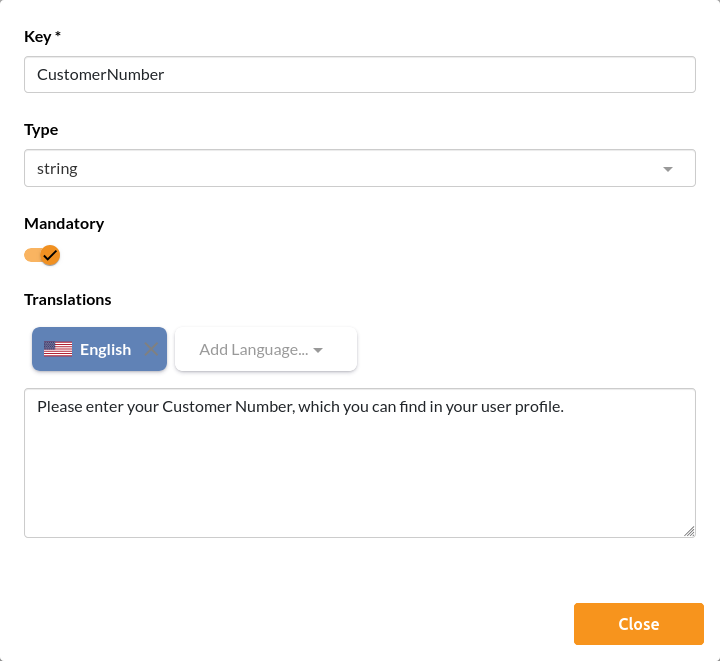
By clicking the "+" button in the bottom-left corner you create a new entry. In the newly opened modal you need to supply following information:
| Attribute | Description |
|---|---|
| Key | Unique Key which needs to be provided in combination with a value during the creation of an ID validation. |
| Type | Primitive Type of the expected value |
| Mandatory | Defines field as mandatory or optional. |
| Translations | Text which will be shown to the end-user during the ID Validation when they are prompted to supply the information. |
See below for an example.