
Authenticator App
In this section, we will explain the UI of the cidaas authenticator app and its functionalities.
Install the cidaas mobile application from the app store or Play Store.
You can search our app using keywords such as, Authenticator,TOTP, Cidaas App, Cidaas,Face Recognition, Pattern Based Login, Touch ID, and Smart Push.


After you install successfully, you will find the below page:
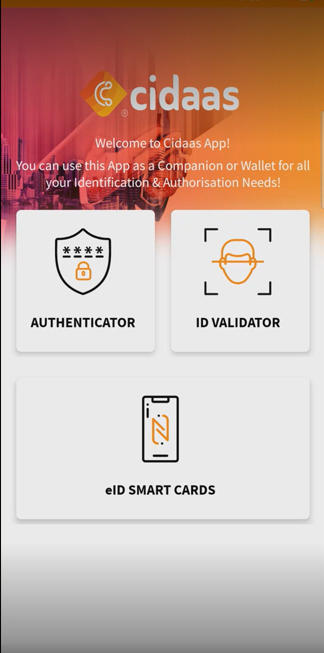
Authenticator: The cidaas authenticator helps to verify the physical identity of a person by implementing multifactor factor authentication.
ID-validator: The cidaas ID-Validator is an Automatic-Identification technology that provides you with convenient, fast and reliable identity card verification in a digitized process.
click here to know more.
Note: cidaas ID-Validator is in its development phase.
eID smart card: The eID smart card is an attempt from the German government to provide a safe way to identify yourself using the German identity card. Bascially, it's a chip in the identity card that communicates via NFC with any compatible reader.
Note: eID smart card is in its development phase.
Get started
Follow the below steps to get started,
-
Click on the AUTHENTICATOR tab; the welcome screen opens.
Side through to get an overview of the features and at the end of the feature listing screens, click on START to open the Application or if you wish to SKIP the overview click on “SKIP” to directly start the application.
-
Click on START, the app permission screen opens.
The App prompts you for permissions required to use some features of the device for efficient usage of authentication methods.
You can choose to grant permission While using the app or Only one time or Deny the permission.
Listed below are the permissions asked for and the relevance of these for authentication.
-
Location: Allows cidaas to access your approximate location (using cellular base stations and Wi-Fi hotspots) and exact location (using GPS).This is needed for the audit logs to enable you to trace any misuse.
-
Camera: Allows cidaas to use your camera to take photos, scan QR codes, and record videos. This is needed for some of the authentication mechanisms like face recognition.
-
Media: Allows cidaas to use your gallery to upload ID proofs (e.g., passport or driving license). This will be used for the ID validator.
-
Mic: Allows cidaas to use your mic for voice recognition. This permission is necessary for voice based and IVR authentication mechanisms.
Note: If you click on "“Don't allow"”, that relevant Muti-Factor-Authentication (MFA) cannot be configured. However, you will still be prompted for the permission at the time of MFA configuration if permission has been denied during start up.
-
-
Login to your User UI and start the desired MFA configurations
-
Click on "+", and start adding your MFA.
Authenticator

1 : +: Clicking on the + button will show two options, Enter setup key and Scan a QR-code. These can be used to configure the TOTP, by entering the code or configure and set up any MFA, by scanning the QR code.
2: Devices: Clicking on this you will see the list of linked devices with the time stamp, location, and device name.
3: About us: Clicking on this you will get the information regarding cidaas and its latest version and a button to submit the application logs to the system for any incident analysis on need basis.
4: Notifications : Get all the MFA notifications like push, pattern, etc here. This will displays all the pending notifications that have been triggered to this particular device and yet to be actioned upon.
5: Home: List of all configured MFAs are shown here.
Please contact us directly on our support page or reach out to cidaas support at [email protected].